
Template Overlay for Dynamic Documents
Ever have dynamic documents, such as an invoice or an expense form? The content of the document may change from use to use but the placement of the tags remain the same. In these instances, the Template Overlay can dramatically save you time and effort.
With the template overlay feature, you can create a template of a blank document, and then when needed, overlay the tags from the template onto a new document you have uploaded.
Preparing the Template for Overlay
To use the template overlay feature, you first need to make a template of the document in question. You can get a step-by-step guide on how to create your template here.
But briefly, begin by using the +New button in the top right and select New Template. When prompted, select the Regular Template option.
On the Editor page, Add the file you’ll use for the overlay and then Edit Recipients to create roles for your signers.
Once the Roles are created, add Tags to collect signer information by dragging and dropping them into place on the document.
When you’re done, click on the More option and select Save File.
Using Template Overlay
Now that you have created a template, you can use the Overlay feature whenever you create a new document.
Use the +New button again and this time select New Document. The process for document creation is the same as always, you can check out our guide here.
Begin by uploading the dynamic version of the template you want to overlay. Usually, this is when the user generates a new document for their signers, such as an expense form or an application, that has the changed content compared to the template. What you’re going to be using are the tags that are in the template and overlaying those tags onto the new document.
Once the document is uploaded, Add Recipients and edit any recipient settings you want, like automatic reminders, customized invitation emails, etc.
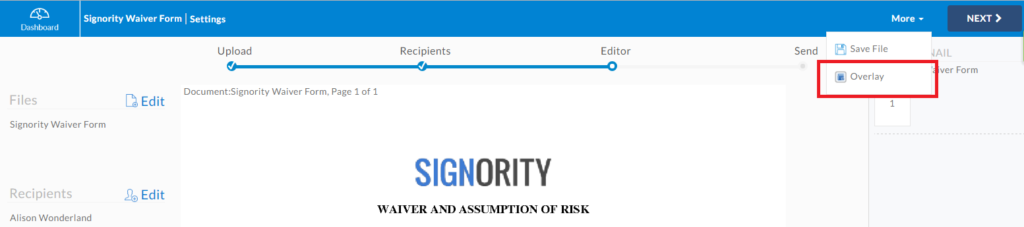
Once you’re done, move on to the Editor page. You should see the new document uploaded. Click on the More option in the top right and select the Overlay option.
When prompted, select the Template Overlay you wish to use and confirm or customize.
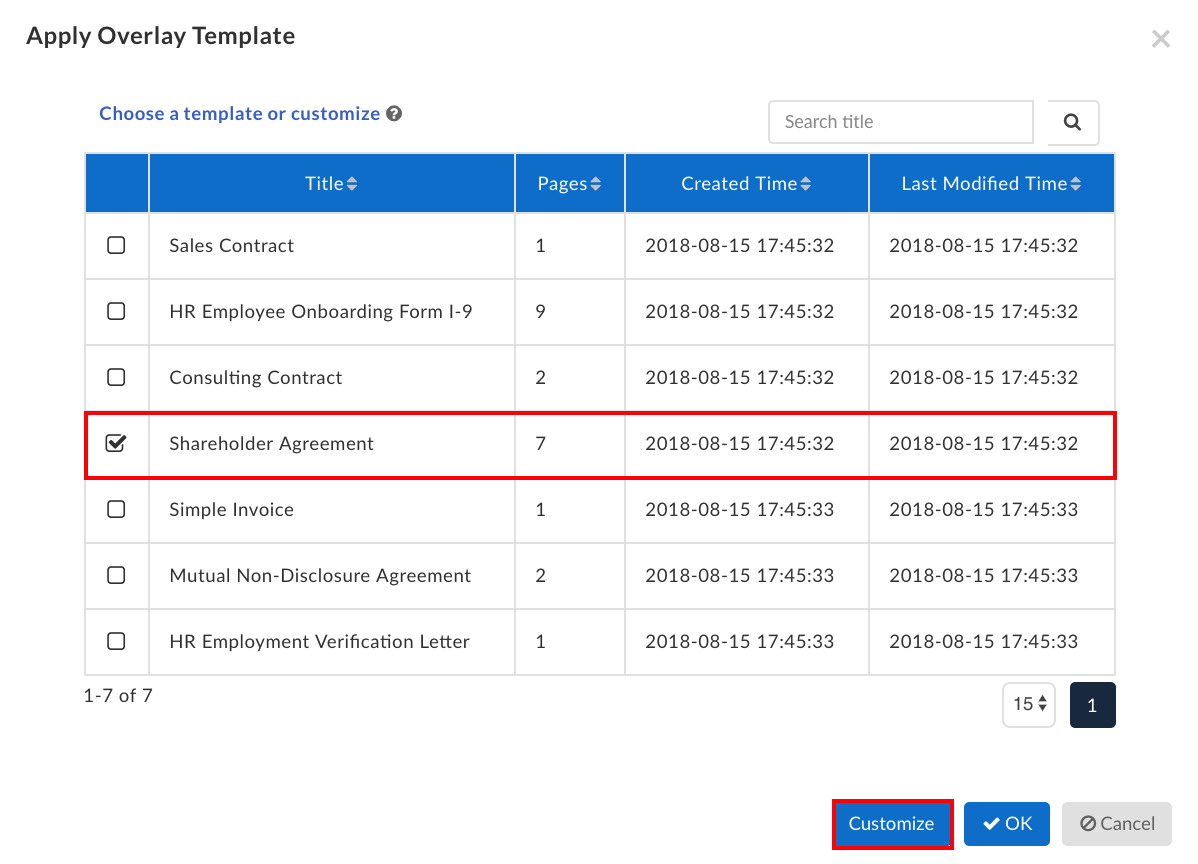
When you have specific pages from the template to overlay to the document, Drag and Drop to the proper pages.

If done correctly, the overlay should be applied and the document will have the tags from the template visible on the Editor page. Add any extra tags you may need, make sure all the tags are properly assigned to their signers, and then send the document to collect your signatures!
Further Reading
Publishing Template Links for Online Document Signing
Bulk Send Documents for Signing
Track and Monitor Document Status and History