Masked Email
Available with: Custom Plans
Masking your email changes the ‘Reply to’ email when a notification is received, allowing you to use a more general company group email instead of your personal email for a more professional appearance.
Enabling Masked Email
- Navigating to the profile settings by clicking on your profile icon in the top right corner and selecting “Profile Settings”.
- Click on the “Account” tab and go down to the “Sender Settings” section.
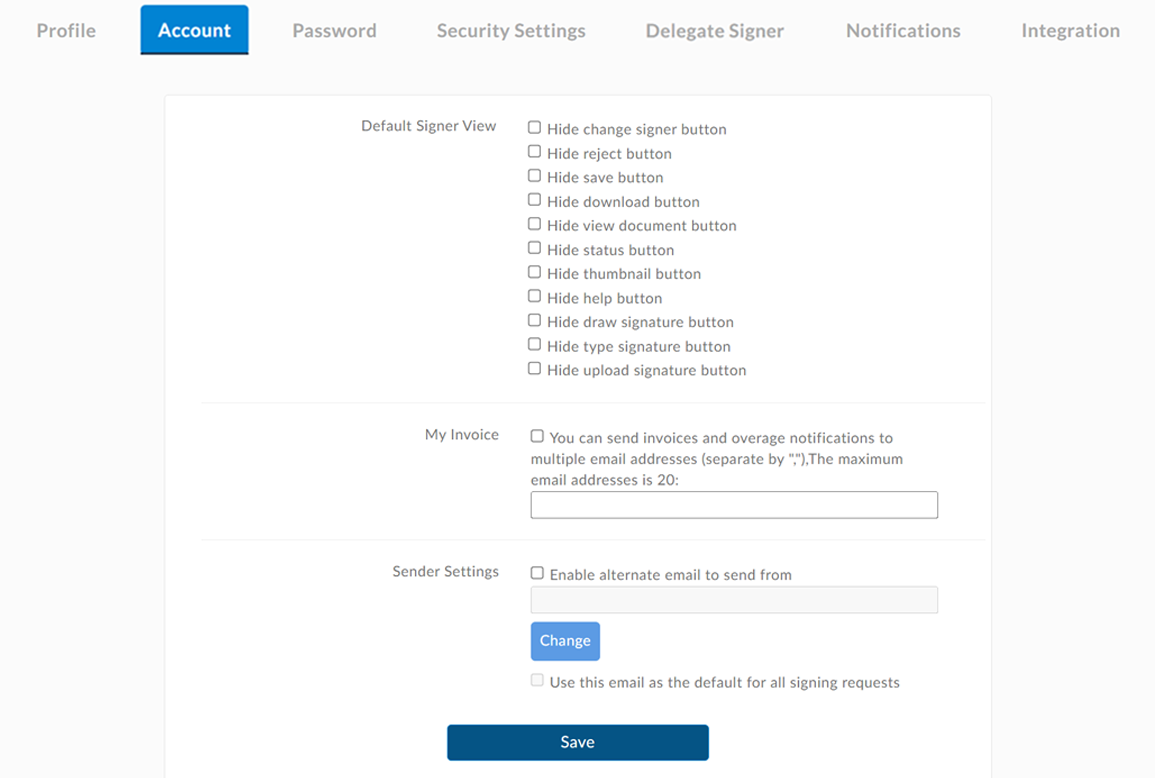
- Check the “Enable Alternate Email to Send From” checkbox and then click the “Change” button below the text field to add the email you want to use as the alternate sender.
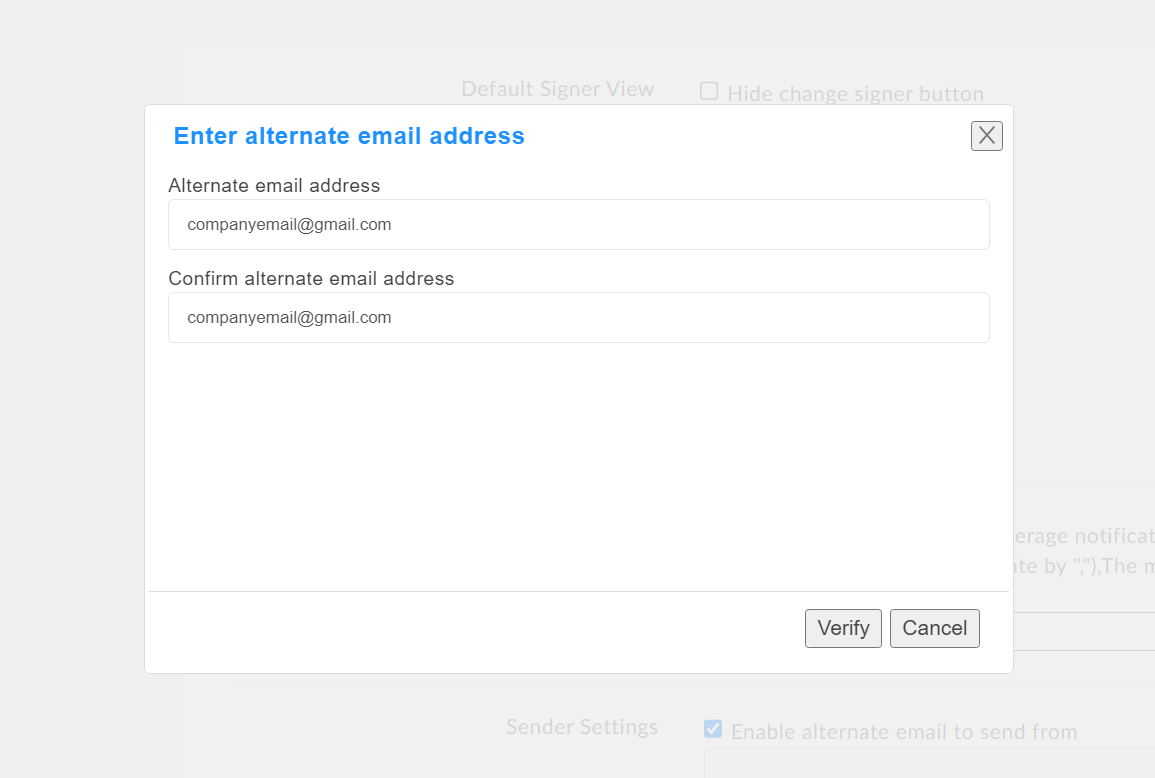
- In the window that appears, enter the email address you wish to add and click “Verify”.
- Check your email for the verification code sent by Signority. Copy the code and paste it into the designated field on the platform, then press “Confirm.”
- After successfully verifying the email, it will appear in the text field in “Sender Settings”.
- (Optional) If you want to make this email the default sender for all signing requests, select the checkbox for “Use this Email as Default for All Signing Requests” below the “Change” button.
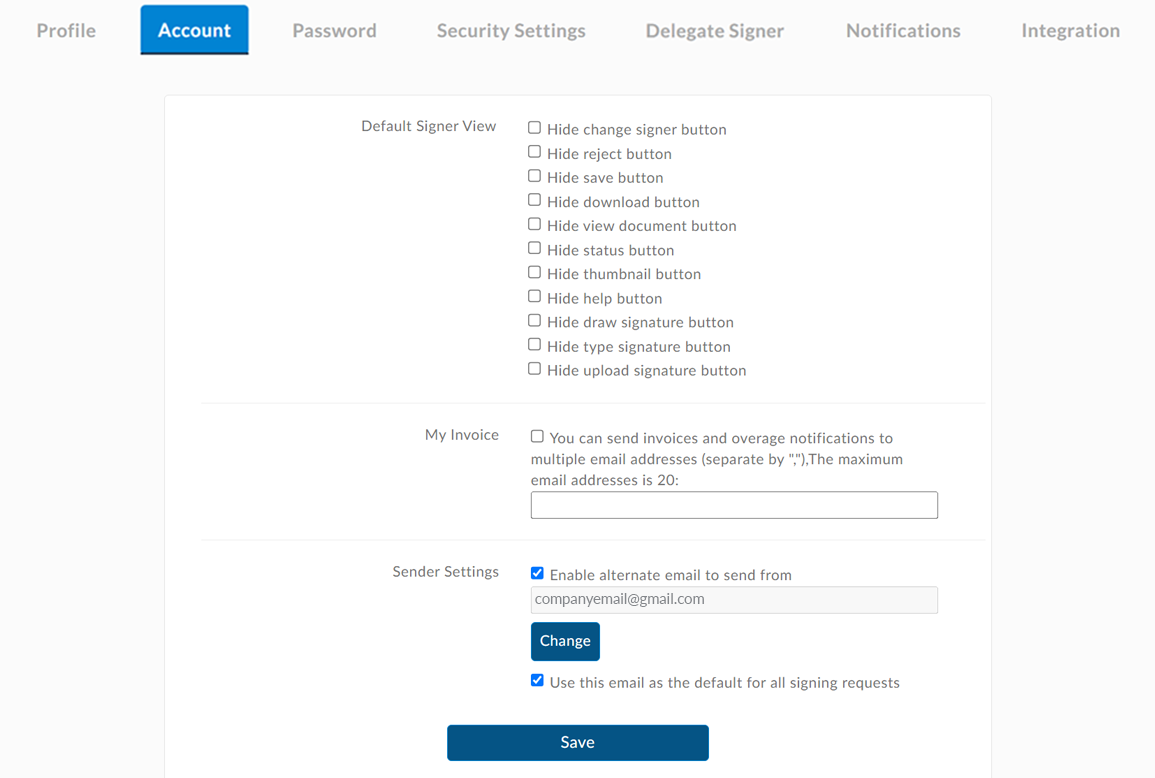
- Press the “Save” button to apply the changes and confirm the setup of the masked email for sending electronic documents on Signority.