Adding A Signing Order for Your Documents
By default, Signority sends documents to all recipients at the same time, allowing everyone to sign immediately.
If your document requires a specific sequence, you can set a signing order so recipients receive invitations one at a time.
Setting Up a Signing Order on the Recipients Page
- Begin by creating a New Document using the +New button.
- Upload the document that has a specific signing order.
- On the Recipients page, add the appropriate number of signers needed.
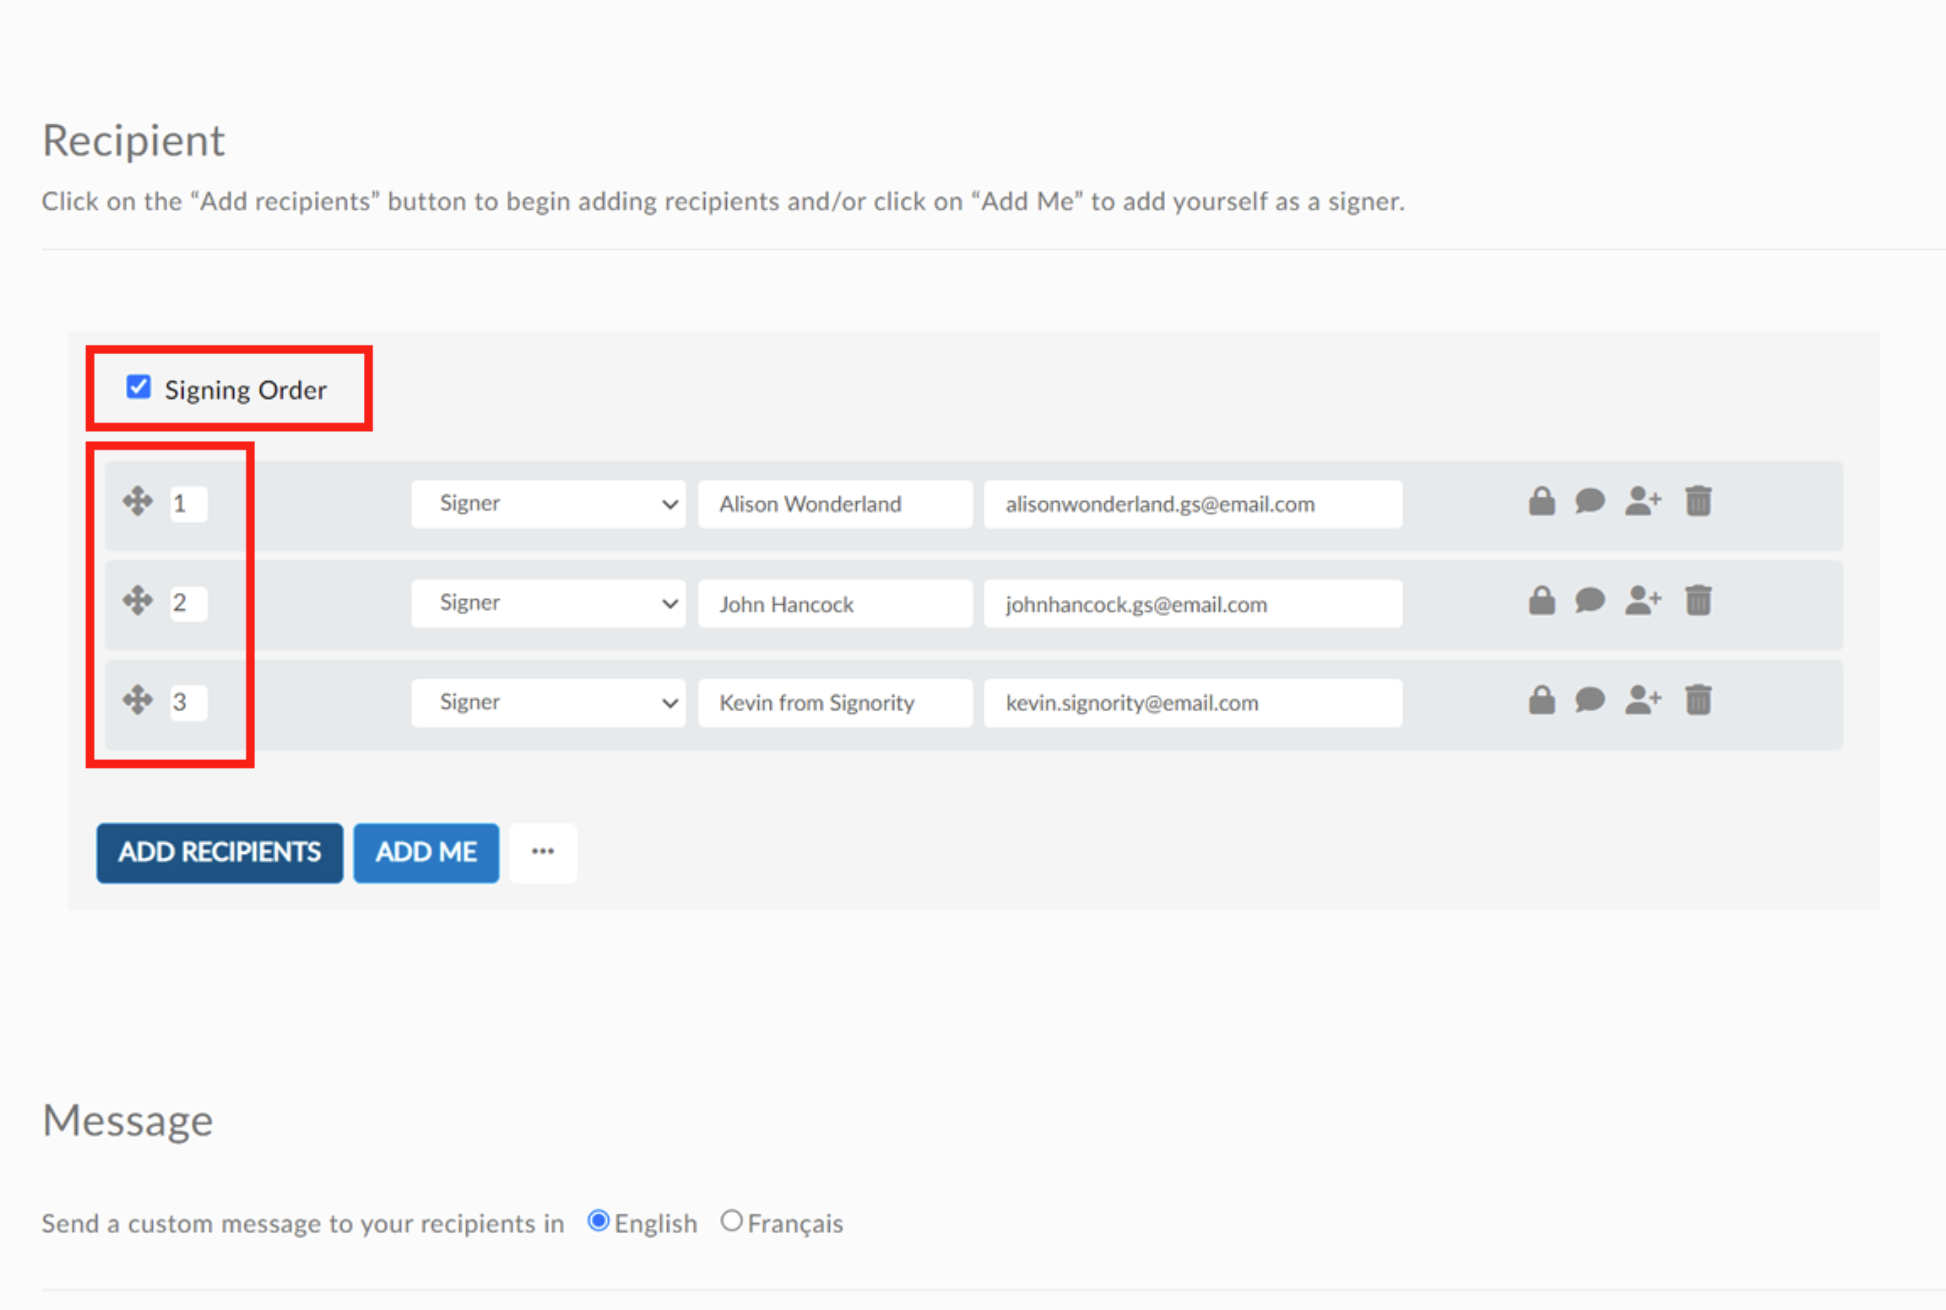
- Click Signing Order to create a sequence.
- Drag & sort the recipients in the correct order, or set their signing order number manually.
When you’re done, move to the Editor page and add the Tags needed. Assign tags to the right signers. Once completed, click Next to send the document.
How Signing Order Works
Sequential Signing
Recipients are notified one at a time.
- The first signer receives the email immediately.
- The next signer is only notified after the previous signer completes their part.
- This continues until all recipients have signed.
Multiple Signers at the Same Step
You can allow multiple recipients to sign at the same time by assigning them the same signing order number.
- All recipients with the same number receive the invitation together.
- The workflow continues only after all recipients in that step have completed signing.
Recipient Status
When a signing order is enabled:
- Recipients who are next in line will receive their invitation.
- Recipients who are waiting will appear as “Invitation Not Sent” on the Recipient List Page until it’s their turn.
Example Signing Flow
- Alison Wonderland signs first
- John Hancock receives the document after Alison completes signing
- Kevin from Signority receives the document last
If John and Kevin were both assigned the same order number, they would receive the document at the same time after Alison signs.
Further Reading
Customize Signing Order When A Recipient Rejects the Document
Switch Signer Responsibility to Another Person as a Recipient
Change Signers and Resend Invitation Emails