Tags Overview
Tags are what allows your signers to modify and add information to the document. Having a good understanding of what each tag does will help simplify the process when you create eSignature documents.
To get started, here’s the list of tags that are available for use with Signority. We’ll go over each tag’s function, settings, and what it looks like on the user end.
The following tags are available in Signority:
Signature Tags 
Signature tags allow recipients to add their signature to a document. Signority allows for three signature methods by default – drawing a signature, typing a signature, and uploading a picture of a signature. You can also create your default signature design for one click signings. There aren’t any settings other than whether to make a signature tag mandatory or optional by using the cogwheel when the tag is selected.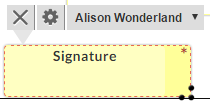
When the document is sent out and the recipient is ready to sign, they need to click the signature tag. The signature window will appear and the signers have the option to Draw, Type, or Upload their signature. Click Apply when you’re happy with the signature to add it to the document.
Note: When typing signatures, the name that was entered as the recipient is prefilled initially to save you time.
Initials Tags 
Initials Tags are often used on documents to prove that the signer has viewed and read a page (though Signority has other options for this use case).
Initials function the same way as signatures. The settings are also the same, where you can change whether it is mandatory or optional.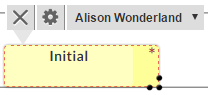
For the signers, they can click on it to bring up the signature window and you can Draw, Type, or Upload your initials, similar to how it works for the signature tags.
Note: When typing initials, the name that was entered as the recipient is prefilled initially to save you time.
Text Tags 
Text tags allow your signers to input information into a document, such as their name, address, or email, for e.g. 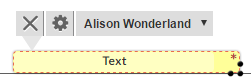
The settings for the text tags is fairly simple. You can make a tag optional or change the font size to match your document.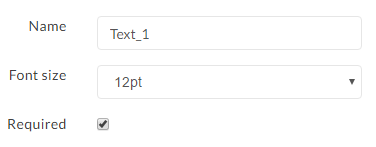
For the signers, they simply need to click on the tag and begin typing to enter the appropriate information for the document.
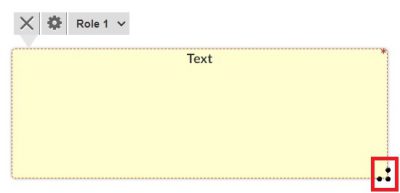
You can also expand the Text Tag into a multi-line tag simply by dragging and expanding it using the three dots in the lower right corner of the tag – as shown below. The amount of characters and lines that they can enter will be dependent on the size of the tag and the font that you have set. The amount of characters is restricted to the size of the tag you have set.
Number Tags 
Number Tags are a type of fillable tag, much like a text tag, that you can assign to your signers. Signers can only input digits into a number tag. This makes it ideal for collecting ages, phone numbers, dollar amounts, and other information that consist of just numbers.
Masked Text
When working with documents online, a document sender may need to obtain highly sensitive Personally Identifiable Information (PII)—like credit card numbers, social insurance numbers—from their recipient. Senders can maintain high standards of privacy and security while obtaining such sensitive information by using the Signority Masked Text Tag.
The Signority Masked Text Tag is like a Regular Text Tag, and senders can request any type of information from a recipient using the Masked Text Tag. In order to use the Masked Text Tag, simply drag and drop the tag from the left-hand side list of tags onto the document in the appropriate place.
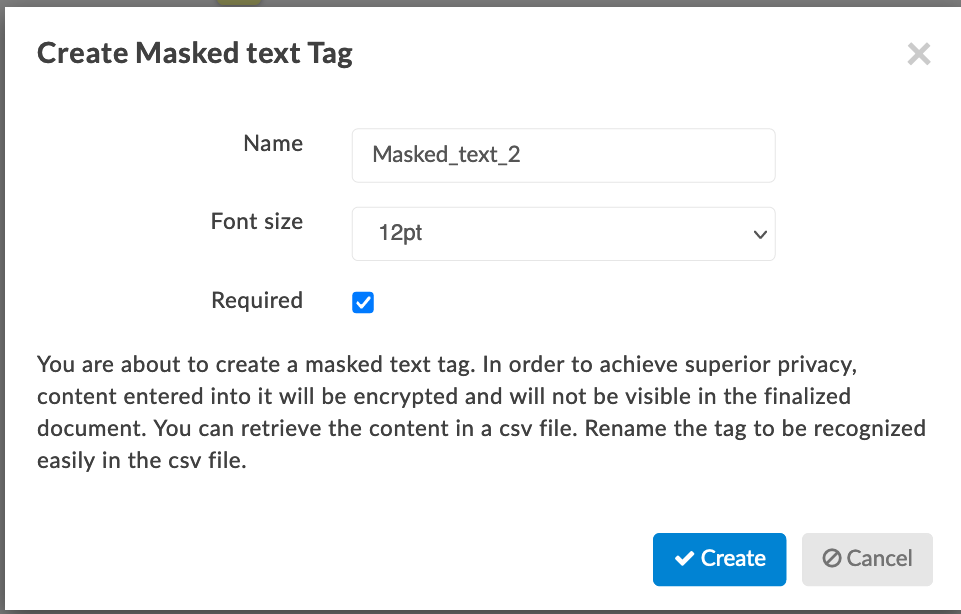
Once you drag and drop the tag, a popup window will appear, prompting you to change the name of the Masked Text Tag to something more recognizable. This is especially important if you are requesting more than one piece of sensitive information, since you will be retrieving the masked information through a .csv file.
Sending out a document with a secure masked field works the same way as any other document.
On the recipient side, a recipient can enter in the requested information into the tag area. Once the recipient clicks away from the tag, any content entered into it will be hidden with the tag’s name, followed by asterisks. At any point in time before finalizing the document, the recipient can click the tag, review the information that was entered, and edit as needed.
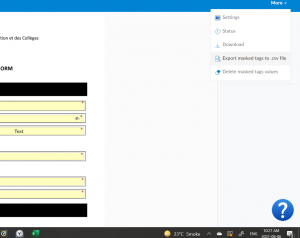
Once the document has been finalized, you can access the finalized PDF document either from the email notification that you receive, or you can access the document from your Signority account. The finalized PDF will have the content entered into any masked tags encrypted and hidden. In order to access the sensitive information, you will need to navigate to the document under the “Documents” page in your account, and click on the Document Title to view the document. In the page to view the document, click on the “More” dropdown menu in the top right corner. You will see an option to “Export masked tags to .csv file”.
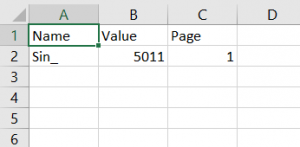
Clicking on this option will automatically download a .csv file containing the information stored in the Masked Text tag(s).
Once the requested sensitive information has been recorded and stored securely, you will have the option to permanently delete the masked tags values from your Signority account. In the same “More” menu, simply click on “Delete masked tags values”. You will see a popup window asking you to confirm the deletion.
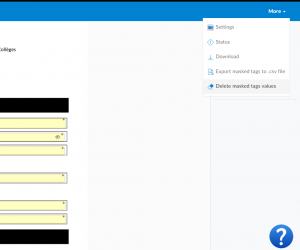
Once you have confirmed the deletion, all content that was entered into any Masked Text Tags will be permanently deleted, and you will no longer have access to it. In addition, the options to export and delete the masked tags values will no longer be available under the “More Dropdown”.
Note Tags 
Use the Note tags to leave instructions on the document for individual signers. These can act like sticky notes for you to leave for your signers. You can assign them to specific signers so that they are visible only to that person.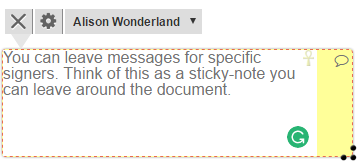
The settings for this tag is the same as for text tags, where you can change the font size, but there are no mandatory or optional settings for this tag.
For the signers, they will see the same information you typed in and when the document is completed, the tag will disappear from the finalized document.
Date Tags 
The date tag is an easy way for your signers to date their signature or parts of the document. The default date format is MM/DD/YYYY.![]()
To change the date’s format, click on the date tag and then the settings cog that appears above. In the settings option, you can change the font sizing to match your document, as well as change the date format to one better suited for your document. Of course, you can also set the tag to optional. If you accidentally populate the tag with a date you can easily remove it by hitting your ‘delete’ button.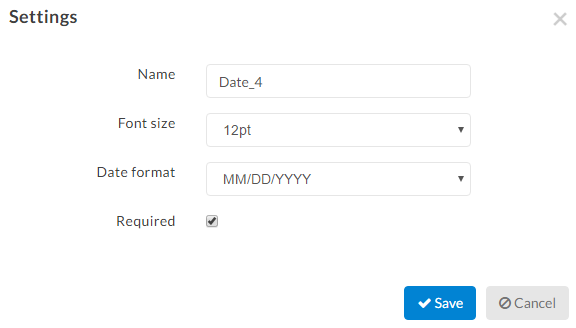
For the signers, the date tag is simple to use. Click it once to add the current date, and a second time to bring up a calendar to select a past or future date.
Checkboxes 
Checkboxes are great for collecting multiple choice information from signers. This is great when the question allows signers to select more than one option. By default, checkboxes are optional, but you can set them to required.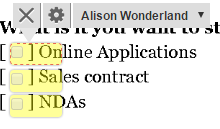
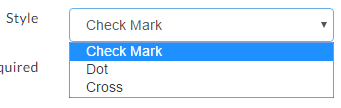
The checkbox settings are straight forward, you can select different styles of checks, between a checkmark, dot, and cross, for whatever your needs are. Just click on the settings cog when selecting a checkbox tag and bring up the settings window. 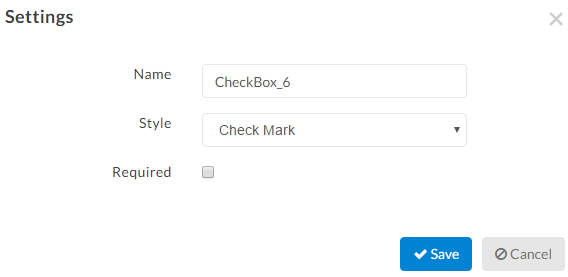
Under Styles, select the most appropriate indicator and then click Save.
When the signers are using checkboxes, the styles will be applied to the finalized document. The style will not be visible as the signer is using the checkbox on the signing page directly. The finalized PDF, however, will show the style you selected when preparing your document.![]()
Radio Buttons 
Radio buttons are useful when you have an either/or question, such as gender, education, etc.
When you drag a radio button over, you’ll first be asked how many buttons will make up the group. The signer can only select one out of that grouping of radio tags. You can tell which radio tags are grouped together because the name of each tag will be the same. This means that if you entered the wrong number of buttons, you can add more by changing the names of the radio tags from the 2nd group to match the first.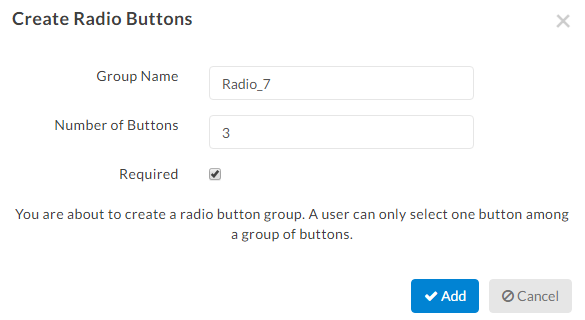
Because these radio tags are grouped together, when they’re mandatory, one of the tags in the group must be selected by the signer to satisfy those settings. For the signer, they simply need to click on the radio that is next to their answer.
As a sender, you can pre-select one of the radio buttons before sending out a document to your signer. Don’t worry, your signer will always be able to choose an option on their own.
Dropdown Menus 
Dropdown menus allow a signer to choose one option from a list that you create. This is great for things like selecting which province or country someone is from, or which features or options are best for the signer, etc.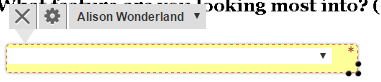
To set the options available in a dropdown, click on the tag in the document and then the settings cogwheel. Under the Values section, enter each option in separate lines, and each line will become a selectable option for your signers. You can also change the font size or make the tag optional as well. Once you’re done, click Save to continue.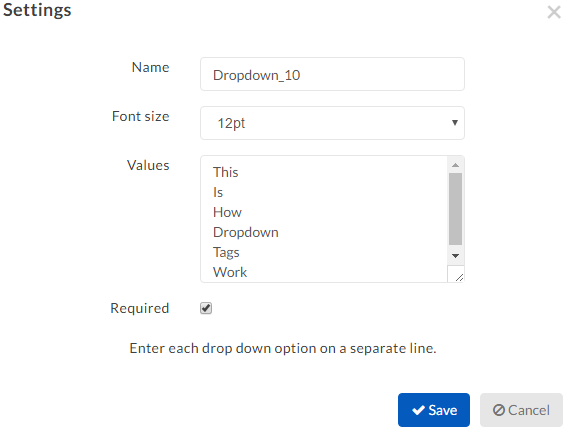
When the signers use the dropdown menu, they will see the options you designated and can then select the most appropriate one for the document.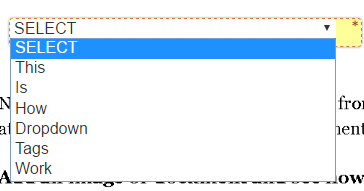
Attachment Tags 
Attachment tags allow signers to upload and attach files to the document. This is really useful for accepting void cheques or bank statements, etc.
A signer can only add one attachment per tag, so if you need multiple documents from them, multiple tags will be required. You can make them optional if you wish.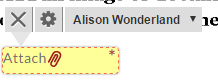
For the signers, when they click the attachment tag, the Files window will pop up and allow you to upload a file from your computer.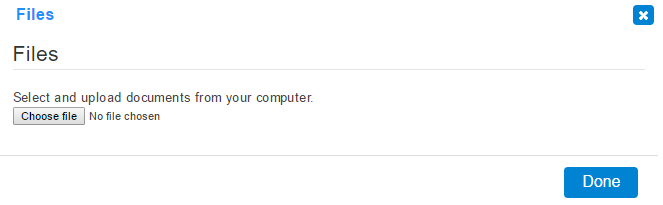 When the file is successfully attached, the paperclip will disappear and be replaced with a checkmark as seen below.
![]() All successfully attached files will be added as a new page at the very end of the document and will be included in the finalized document.
All successfully attached files will be added as a new page at the very end of the document and will be included in the finalized document.
Prefilling Tags
While designing the document, you can enter content into tags by simply clicking and filling in the content you would like to be prefilled. By default the signer can then update or modify the content if needed. Or, you can lock the tag to make it ‘read-only’. This setting ensures the signer cannot modify the content.
Further Reading
Creating Electronic Signature Documents for Others
Creating a Default Signature Design
Assigning Tags to Other Signers