New Application Release from Signority
Sprint 44
November 19 2019
Signority users, you asked and we have delivered! For the last two months, we have worked hard to implement features requested by you. Today is finally release day! With your feedback, we have released lots of features and improvements. Now, getting your work done is even simpler and faster.
New Features
Integration with AWS S3 Bucket : Storage for signed documents to protect your sensitive data
- You can now store signed documents from your team in your Amazon S3 bucket.
- Here’s a quick step-by-step on how to set up this exciting new integration!
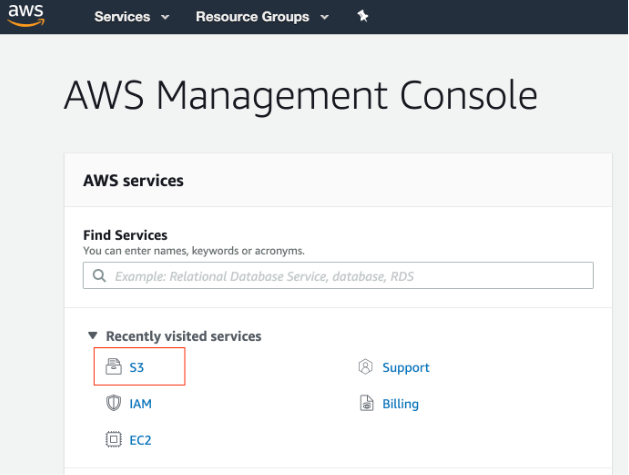
First, you need to register an Amazon Web Services (AWS) account. After your account is set up, go to your AWS console and select “S3” from services menu.
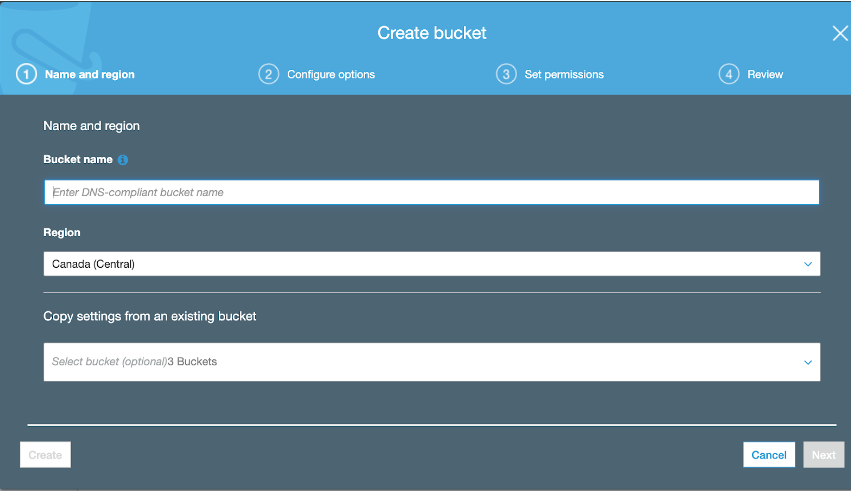
Once you arrive at the S3 console, create a bucket, and give it a name. Bucket names are global and you cannot use a name that has been used by others.
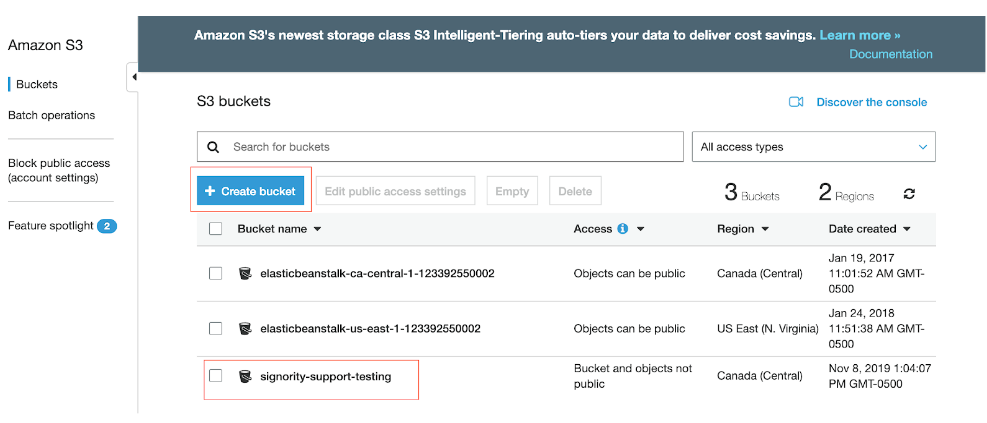
Once you have created the bucket, you will see it show up on the console.
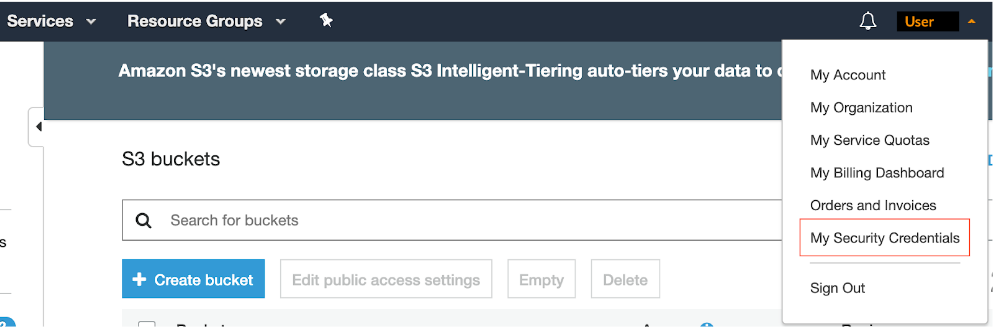
Now, you will need to get your Access Key ID and your Secret Access Key.
Go to your account and select My Security Credentials to find your Access Key ID and Secret Access Key.
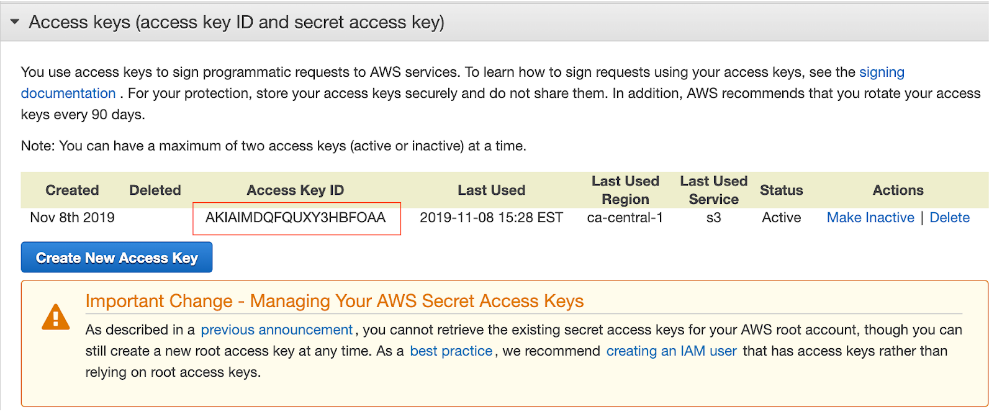
If you don’t have an Access Key, select Create New Access Key.
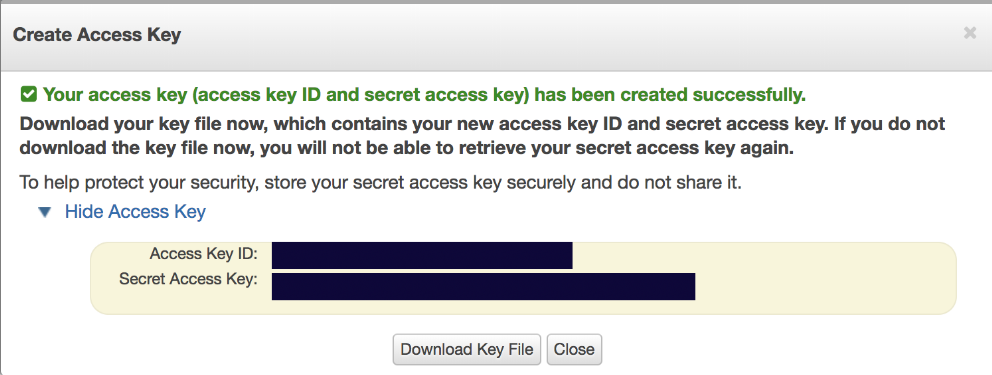
Then, save your keys. You will need the Access Key ID and Secret Access Key to activate the integration in Signority.
Once you have done that, sign into your Signority account and click on “Profile Settings”.
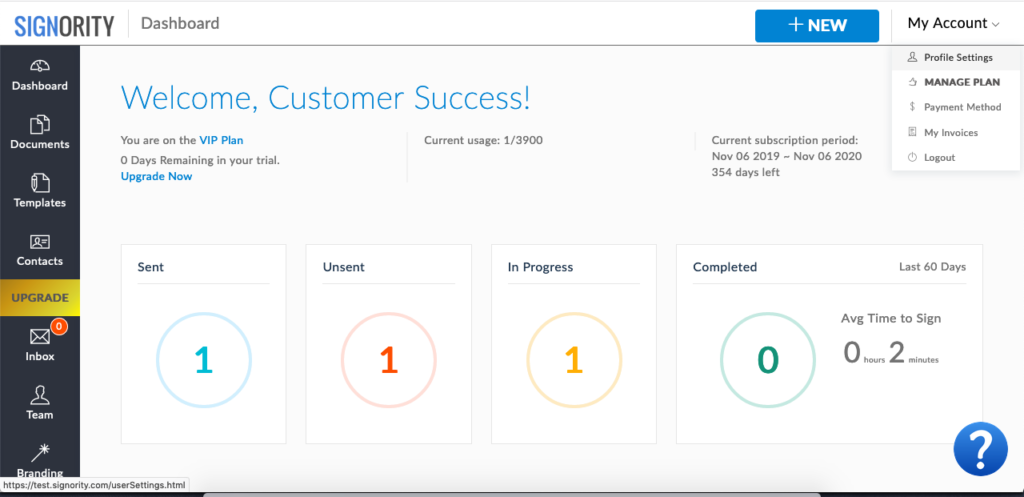
Once you’re there, click on “Integration”.

Then click on the button next to Amazon S3. You will see a pop-up window where you enter your Access Key, Secret Access Key, Bucket name, and Region.
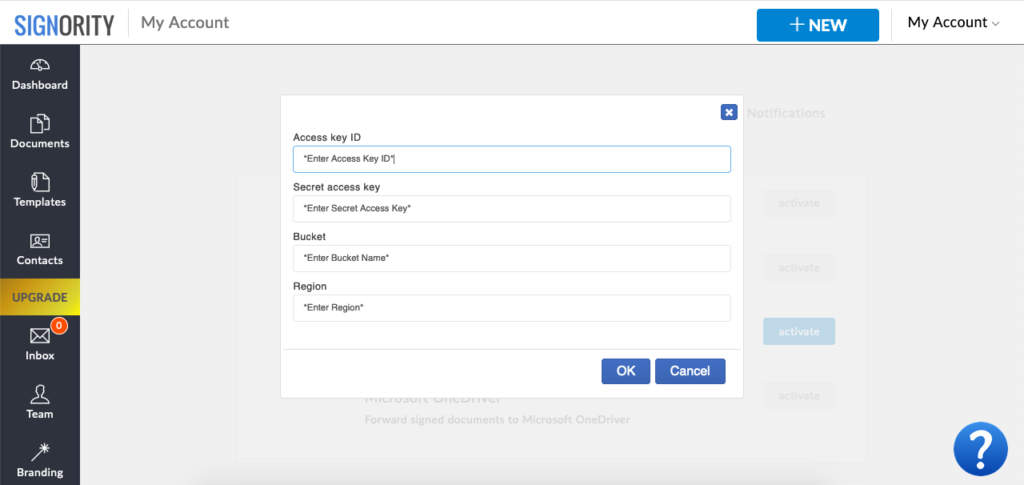
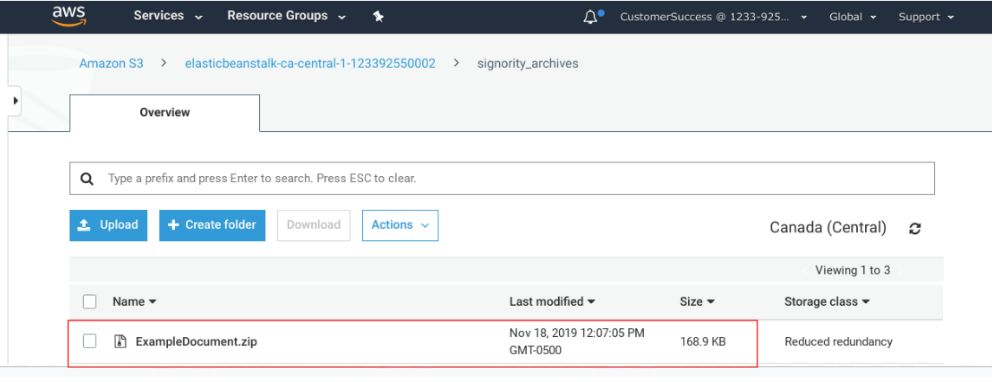
Once you’ve entered all the information, hit “OK”, and you’re ready to start signing! You should see a test document named “Welcome_to_Amazon_s3” appear in your S3 bucket. From now on, whenever a document is finalized, a zip file will be saved in the S3 bucket. Anyone on your team can create documents to be stored in the bucket.
The billing admin and proper team admins can configure the S3 budget setting. Regular users don’t have permission to configure the integration.
Also, if at any time you want to deactivate Amazon S3 integration, just click on the “Deactivate” button. You can find it in the same place that you activated the integration.
More storage integrations with Google Drive, Microsoft OneDrive, and Dropbox will be coming soon!
Bugs fixed
- When you throw something out in the garbage, usually you don’t want to see it again, right? It turns out that when our clients put their Templates in the trash, our system decided to resurrect them and count them towards their usage! Oops. With the new application release, the system no longer counts Templates in “Trash” towards your usage. Now you can bin your templates without worrying about ever seeing them again!
- In addition, one of our customers revealed to us that the “All” checkbox used to select all your documents remained checked even after the documents were deleted. That doesn’t make any sense, does it? We have since fixed this. Now the “All” checkbox unchecks after you’ve deleted all your documents.
There you have it! Our next Application Release will be coming out in about a month. You can expect to see even more features and enhancements. In the meanwhile, let us know if you have any feedback or ideas. We’re always looking for ways to improve your workflow.