Setting Your Default Automatic Reminder and Notification Settings
When you send out a document in Signority, you can set your notification options by clicking Settings while on the Editor page. However, you can also set a default automatic reminder schedule and notification settings to simplify your workflow even further.
Default automatic reminder and notification settings can be created through your Profile
- Go to My Account from the dashboard and select Profile Settings
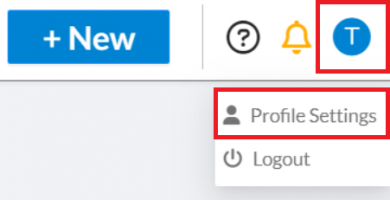
- When you’re redirected to the Profile page, you’ll notice a Notifications tab at the top. Select it to bring up the notification settings.

There are plenty of options for you to choose from. We’ll go over each section of the page to explain what each setting can do, letting you customize the options to your liking!
Settings Overview
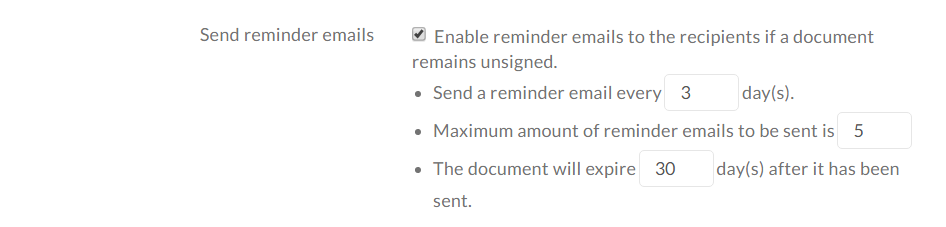
The first thing you will see on the page is the section Send Reminder Emails. This is where you create your automatic reminder schedule that most of your documents will be using. You can change the frequency, total emails, and expiration of your documents. Usually, you would want to set up a schedule that will cover the days until expiration. For e.g., if your document is set to expire in 30 days, make the frequency every 3 days and make the maximum amount of reminder emails sent to 10. 3×10=30, so you will have covered the entire document’s validity.
The next section helps cover the types of email notifications and automatic reminders you will be receiving. Do you want to be notified every time a document is viewed or signed? If not, you can uncheck those options.
You can also determine what the notification email will include for when the document is completed. Do the signers all receive a copy of the document? And if so, is it an attachment or a download link? Or maybe no emails at all. These are all options you can customize as the sender, and for your recipients, the signers.

Next, if you include a copy of the finalized document, do you want to include the audit trail and should it be combined into a merged file or separated? This will all depend on what your needs are and how you plan to keep documents for your records! Not sure about the importance of an audit trail? Learn more about it with our post on the anatomy of the audit trail!

With Signority, you’re also able to warn signers of when the document is expiring. Create an automatic reminder schedule for how early to remind signers of a soon-to-be-expired document.

Lastly, you can copy a specific email address with all of the automatic reminders and notifications that get sent out. Just check the option and enter the email you want copied on all of these messages. Normally, when an automatic reminder is sent, you will not know of this. However, by copying another email address, these interactions will be recorded and sent to the email of your choice.
Please note that these copied emails will be stripped of the links and attachments. It simply lets you keep a copy of the fact that an interaction happened between you and your signers.

Once you’re done with the settings, simply click Save to confirm your new default settings. The next time you create a new document, these options will be your default ones. Of course, you can still modify documents on a per-document basis if you need, by clicking on the Settings link on the Editor page when creating your document.
Further Reading
Create Electronic Signature Documents for Others
Copy Notification Emails to Record All Signer Interactions
Notification Reminder and Deadline Options for New Documents