Bulk Export
Available with: All Plans Role: Super Admin, Billing Admin
In the case where you need to close your account or move your documents in mass, bulk export allows users to save copies of documents sent from a you and your organization. Similarly, if have enabled document retention so that your documents will be automatically purged from your Signority account after a specific number of days, bulk export will allow you to save copies of those documents to your device or an integration.
Note: If the files selected for the export are greater than 1GB, the documents will be compressed into two or more ZIP/TGZ files.
Running a Bulk Export
To export documents in bulk:
If your plan is a(n):
- Individual Plan: Select Bulk Export from your lefthand sidebar menu.
- Team Plan: Admin >> Bulk Export
On the bulk export page you will see:
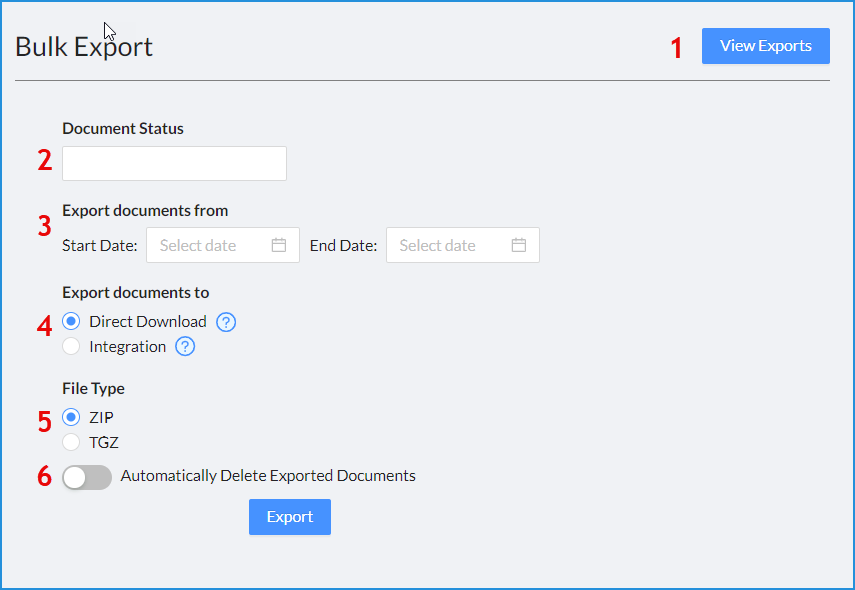
- View Exports: Takes you to the Export History page to view past bulk exports.
- Document Status: Filter the documents you need to export by their status.
- Export documents from: This is the date range you want the documents fall within.
- Export documents to: There are two options:
- Direct Download: which will result in a link being generated where you will be able to download the documents from.
Note: A direct download link is only active for 7 calendar days before it expires. You may, within 7 days of it expiring, refresh the link for another 7 days, after which the link is permanently deactivated.
Important: Once the link is permanently deactivated the compressed files containing your documents are deleted permanently and unrecoverable. - Integration: You would choose this if you have an integration set up, i.e. SharePoint. This allows you to specify the location where the documents will be sent.
- Direct Download: which will result in a link being generated where you will be able to download the documents from.
- File Type: This is the compression file type you want to receive the files in. There are two choices; Zip file or TGZ file.
- Automatically Delete Exported Documents: This option allows you to have the documents deleted off of our servers once the export has been completed.
Your Bulk Export is Ready
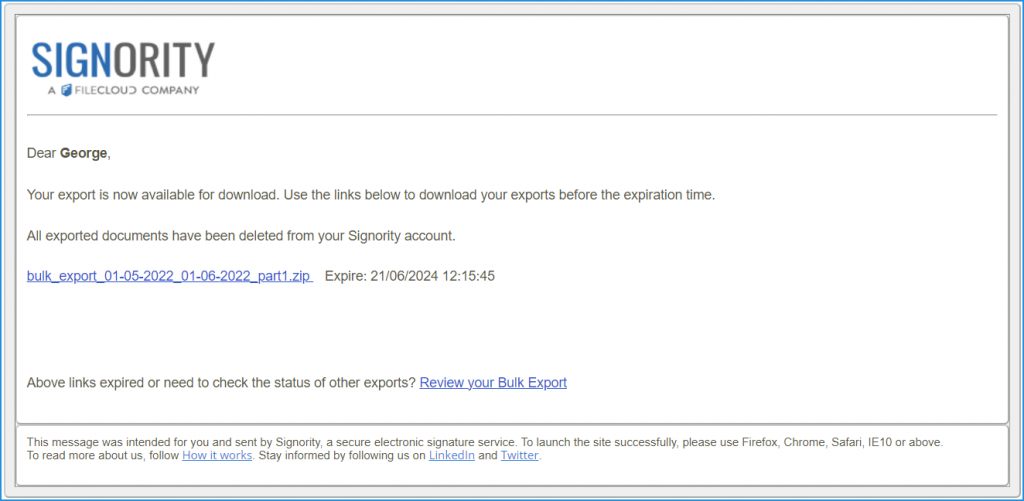
Once you have completed each option click the Export button at the bottom of the list to start the export. When the export has been successful, you will receive an email letting you know that you can access your documents.
The next time you go to the Bulk Export page you may be taken directly to the Export History if you have not yet downloaded your last export.
You can access your files by either:
- Going to the location you specified in the integration option, or
- Clicking on the link in the email if you chose Direct Download.
Remember: You only have seven (7) calendar days to access the documents.
Once you click the link you will be taken to the Export History page (you must be signed into Signority to access the page).
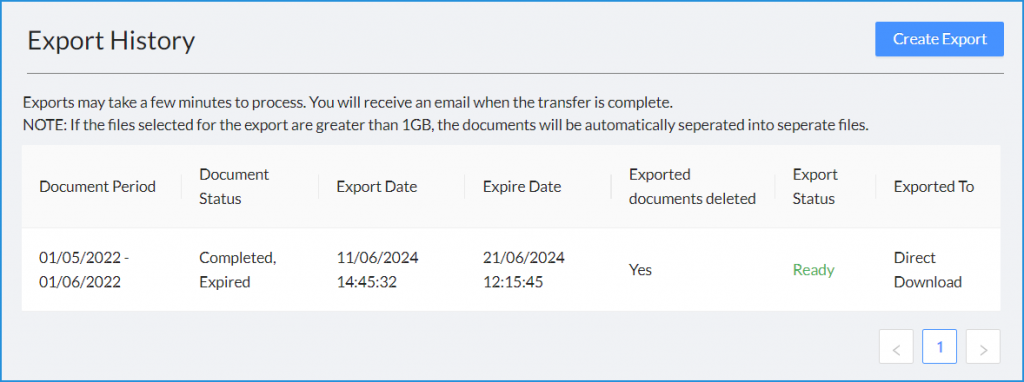
From left to right, the columns above show you the:
- Document Period: This is the date range you chose for that export.
- Document Status: This lists the status requirements you set for the documents.
- Export Date: Gives you the time and date of the export.
- Export Documents Deleted: Tells you if you requested that the documents be deleted after export.
- Export Status: This lets you know if your export is Queued, Ready, or Expired.
- Exported To: Lists the type of export you requested; Direct Download or Integration
Access Your Documents
To access the documents of a recent export, click anywhere on the row of the export you want to download.

This will open an Export Details page; on this page you will be able to:

- View the details of the export
- Go back to the Exports History Page
- Download the ZIP/TGZ files directly
- View the list of documents and verify that their export was successful
View Export Report List
To view the list of documents you exported and verify that they all completed successfully, click the cross beside the export name.
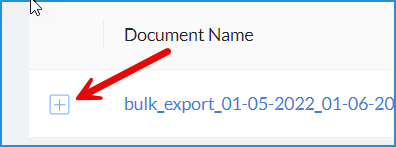
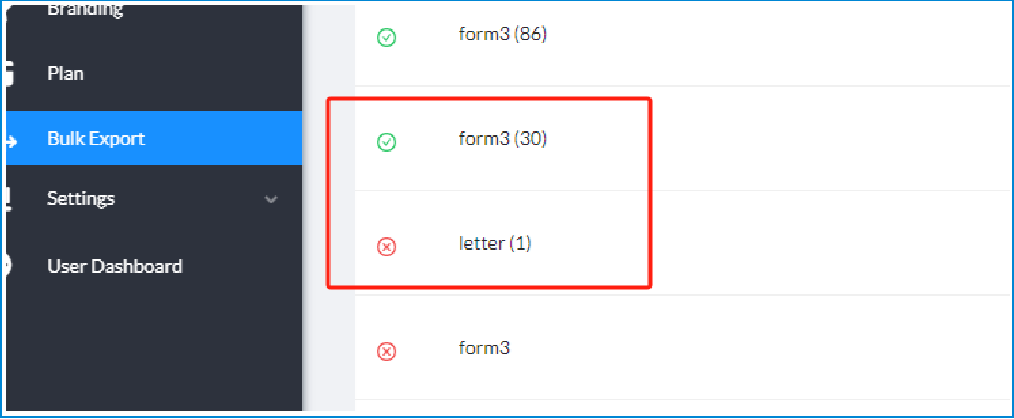
The overall report will show you the list of all the documents you selected for export, as shown below.
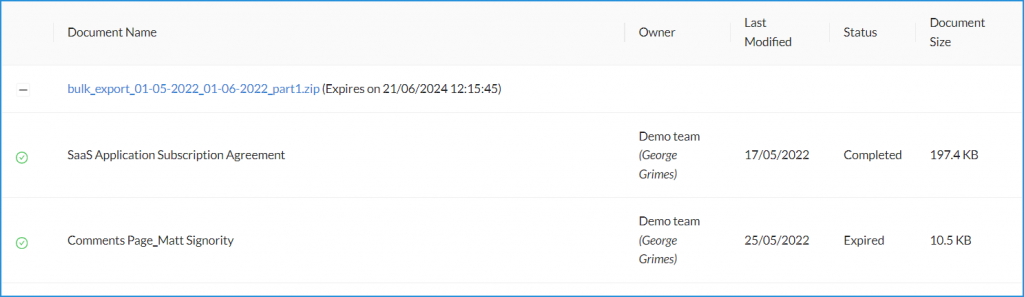
The columns in the report, from right to left, are:
- Document Name: Name of the document
- Owner: This is the person who created the document
- Last Modified: The date this document was last modified.
- Status: This is the status of the document at the time of its export.
- Document Size: The file size of the document.
To the left of the document name, you will also see either a green icon with a circle and checkmark, or a red icon of an x and a checkmark. This tells you whether or not the export of that document was successful.