Signing into Signority using Single Sign-On (SSO)
Available for: Custom Plan
In this tutorial, we will go over how to log in to Signority through Single Sign-On (SSO). If you wish to set up SSO please contact us!
Before You Begin
First, you will need to make sure that your organization has set up SSO with Signority. Once you have verified that it has been set up, you are ready to go!
New SSO Users
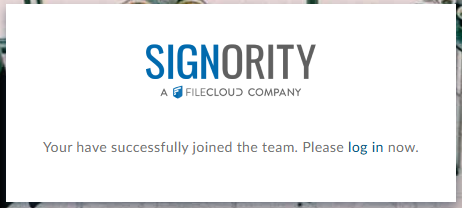
Start by clicking the link in the invitation sent to your email. You will be redirected to Signority and automatically added to your team. You can then proceed to the login page, where you can log in using the email that the invitation was sent to.
Logging in with SSO
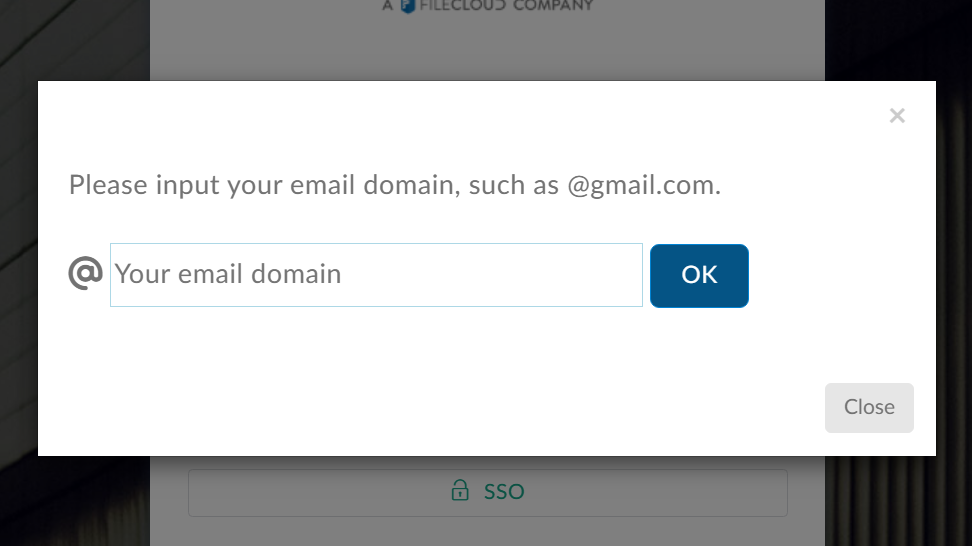
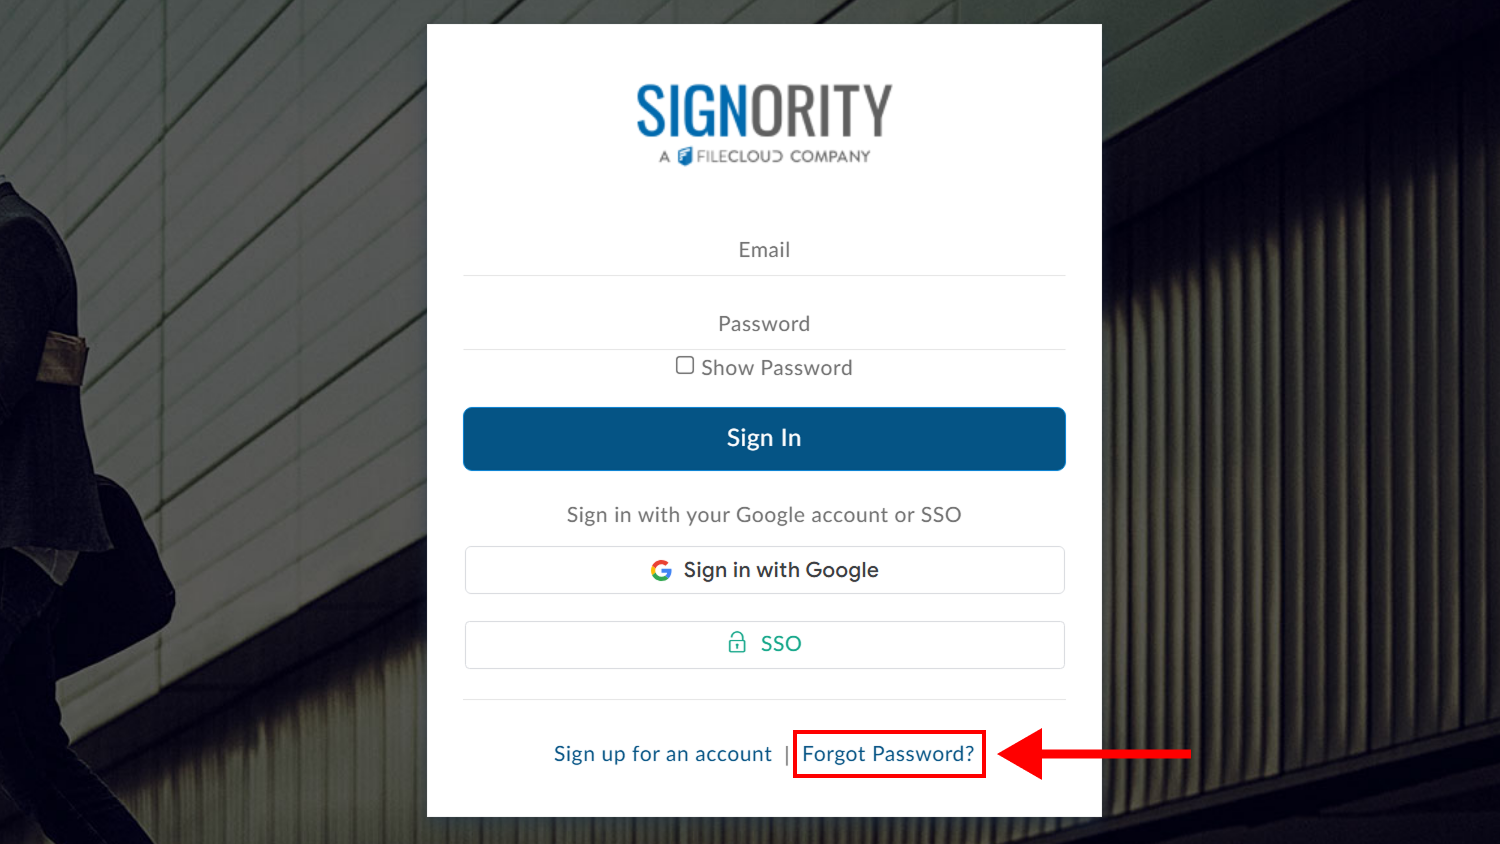
To start, go to the Signority login page. Then click on the ‘SSO’ option.

You will see a prompt asking you to input your email domain. Input your domain and hit ‘OK’.
You will then be redirected to your organization’s login page. Once you’ve signed in, you’re ready to start signing with Signority!
Set up SSO Signority Credentials Log in
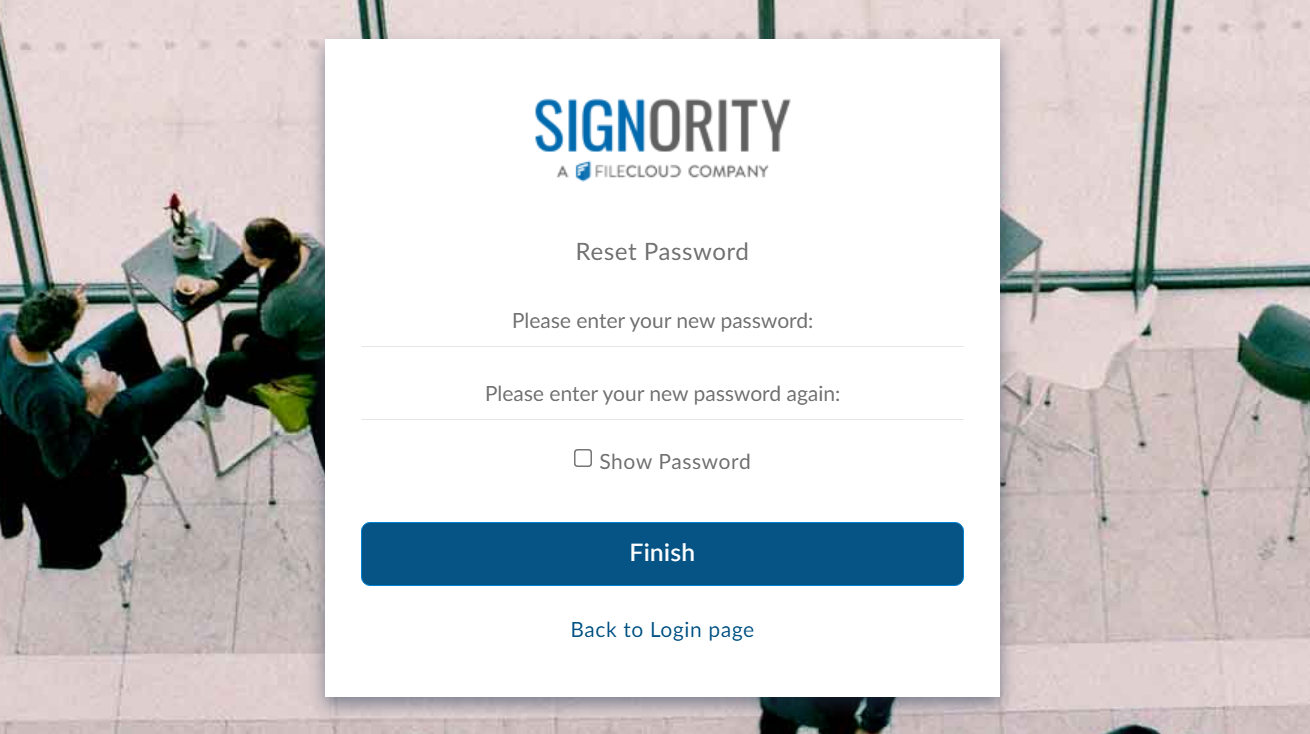
Signority enables organizations set up with SSO to allow their users to log in with to Signority with Signority Credentials, as well as standard SSO. This is an additional feature above standard SSO, so please check that this is enabled for your organization. If it is your first time logging in this way, you will need to set up your Signority password. To do this, you will need to follow the steps of resetting your password using “Forgot Password”.
Start by selecting “Forgot Password” on the main Signority login page.
You will then be prompted to enter your email. Once you’ve submitted your email, you will recieve an email with a link to reset your password. Click this link to create your Signority password.