Fair API Pricing
No Surprise Fees
Secure Your Document Distribution and Management with a Signority API Plan
Frequently Asked Questions
1. In the form fill up page capture customer information such as Name, Email and any other text such as date/company name etc and post it to your server.
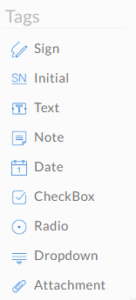
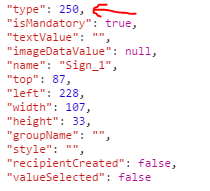
2. Once your server has the information, you need to send the document file and the information (Recipent Email, Name, etc) along with signature tags to Signority using a post request.
3. Once post your document to signority you will get a ‘Document’ JSON response from our server which will contain information such Document Title, Sender Name, Signing Status etc. The structure of response is available in section “1.2.1 The Main Structure” of the API Documentation (Page 2).
4. The response in step 3 has a Invitation Array as shown in “1.2.2. The Structure of Invitations”, the invitation array has a GUID, you will need the GUID to load the signing/invitation page (This is the same link you get in your email when a document is sent for you to sign). Form a invitation url using the GUID
https://sign.signority.com/UI/documentDesigner2.html?iid=<Put the GUID here>
Example:
https://sign.signority.com/UI/documentDesigner2.html?iid=0d7df95e-5fca-4927-a2a7-c8968c724ebe
5. Once your server gets the response from signority, grabs the GUID from the Invitation array and forms the invitation URL, have the server send it back to the client. The client can load the page in an iframe that way the user can sign the document in your website.
6. After the signing is completed you can detect it using javascript redirect/send the user the next page (i.e payment page).


After a document has completed it’s signing process, the user way download it in one of 4 ways.
- File containing just the signed document
- Make a GET request to https://sign.signority.com/api/v1/documents/{docID}/download?content=esign
- File containing just the audit portion of the signed document
- Make a GET request to https://sign.signority.com/api/v1/documents/{docID}/download?content=audit
- File containing the signed document with the audit history
- Make a GET request to https://sign.signority.com/api/v1/documents/{docID}/download?content=esignwithaudit
- A zipped folder containing all three of the above files
- Make a GET request to https://sign.signority.com/api/v1/documents/{docID}/download
To delete documents permanently from Signority servers, send a DELETE request to:
https://sign.signority.com/api/v1/documents//array/purgeall


