New Application Release from Signority
Sprint 45.2
January 30 2020
Dear Signority Users, today we launched another application release! This time, we have released a long-awaited feature: the Signority Printer Driver. This printer driver is designed for the following Microsoft Windows platforms:
- 32-bit English Only – Windows 8.1 & 10, Windows Server 2008 R2, Windows Server 2012, Windows Server 2016, Windows Server 2019
- 64-bit English Only – Windows 8.1 & 10, Windows Server 2008 R2, Windows Server 2012, Windows Server 2016, Windows Server 2019
Signority’s newly released printer driver allows you to upload documents to your Signority account without having to exit your desktop application. Uploading documents to Signority using the printer driver is like printing to a printer, but you’re printing to Signority. Today we’re going to show you how to download and use Signority’s printer driver. The video tutorial can be found on the Signority Youtube channel here.
The first thing you will have to do is download the Signority Printer Driver Installer Package. You can find the Installer Package here. The Signority Printer Driver acts more like a program than an actual printer. So if your company is using a server to host user terminal servers, or a print server that regular users cannot access, you can install the Printer Driver on each individual user terminal server. Otherwise, it can be installed on a print server or hosting server.
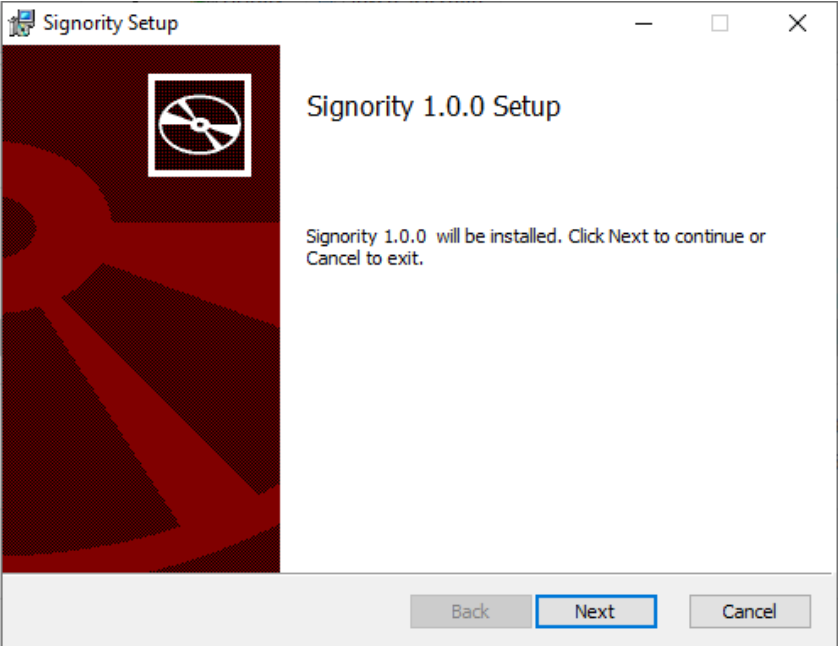
Once you’ve done that, open the file to launch the installer. If you’re using Windows, you might get a warning sign saying that Windows protected your PC. In this case, click on “More Info” and press “Run Anyway”. Then you will be taken to the installer UI.
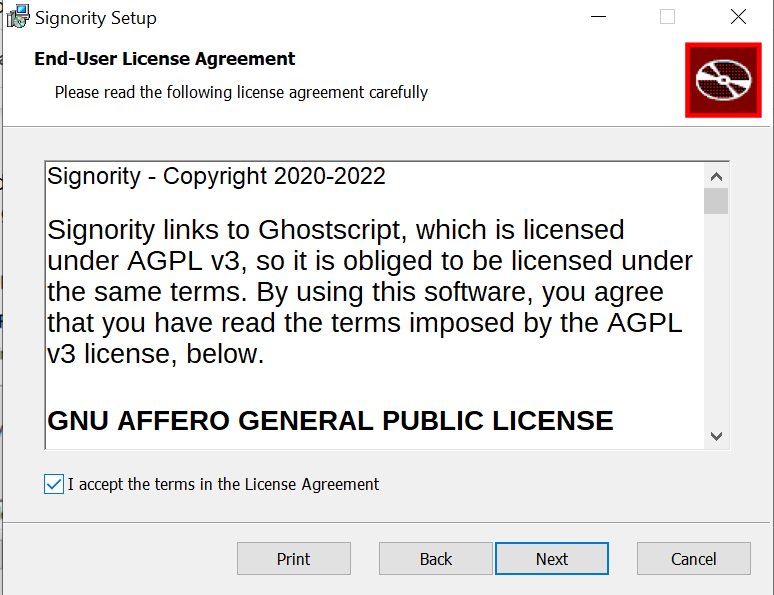
After clicking next, a window with the end-user license agreement will show up. Read the agreement and check the “I accept” checkbox to continue.
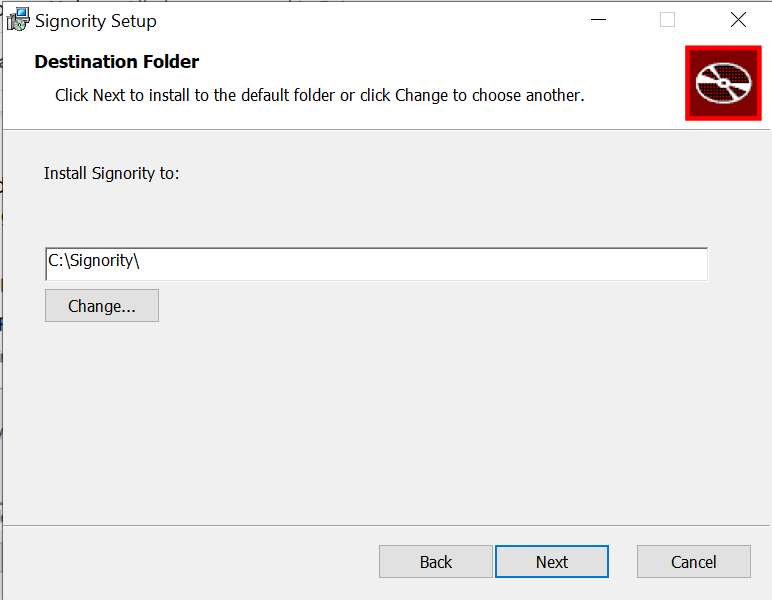
You will then be able to set where you want to install the application. The default location is C:\Signority\.
From here, finish the installation process and you’ll be ready to start printing!
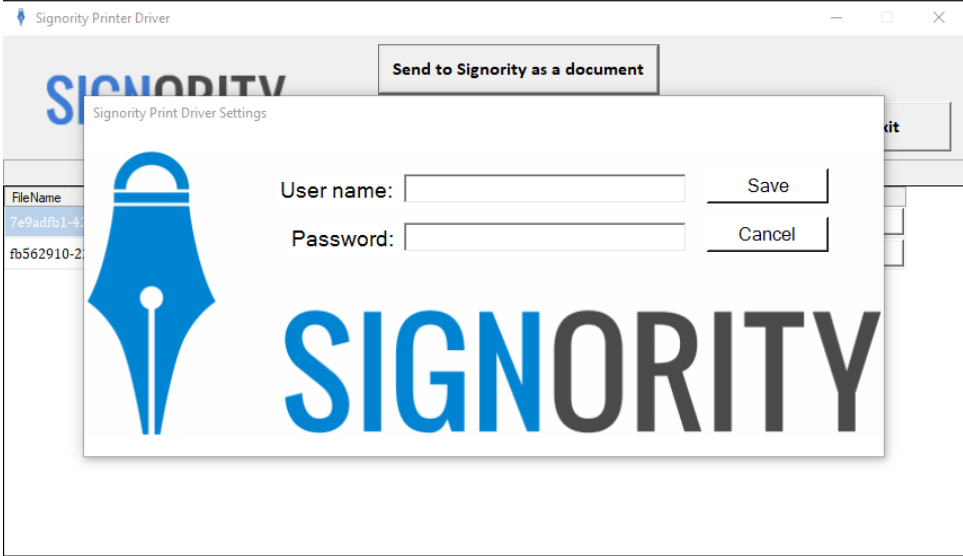
There are two ways to print to Signority. The first method is very simple. It works exactly like a regular printer. Open the file you want in any document viewer and click “Print” (or Ctrl+P) like you normally would when printing a document. Then, select Signority Printer as your printer and click “Print”. This should open the Printer Queue, and your document will show up in it. You can also drag and drop documents from your File Explorer directly into the Printer Queue window. The first time you use the application, you will need to enter the username and password of your Signority account.
You can print multiple documents into the Printer Queue, where the documents are listed.
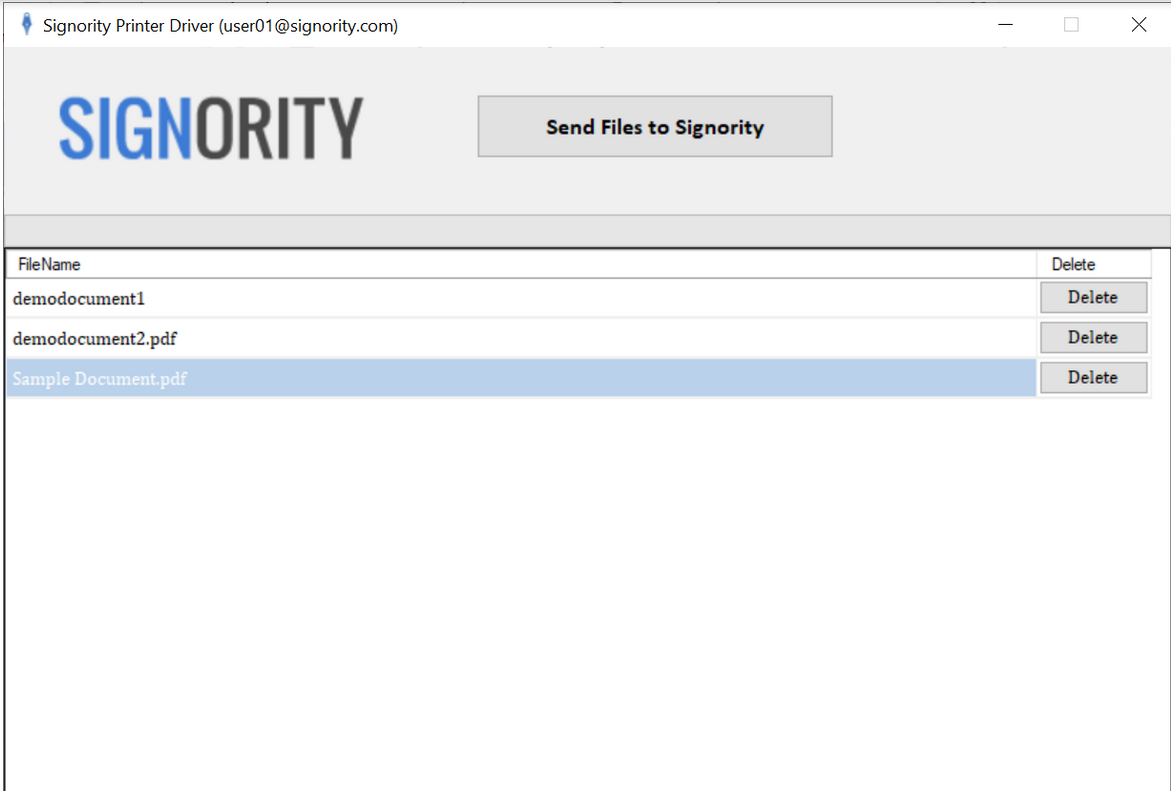
You can also rename the documents by double-clicking on them, and delete documents by pressing the “Delete” button. Note that you are not allowed to modify the document’s extension. For example, if a document is a PDF document, you cannot change the “.pdf” extension to something else.
Once you have all the documents in the Printer Queue, click “Send to Signority as a document”.
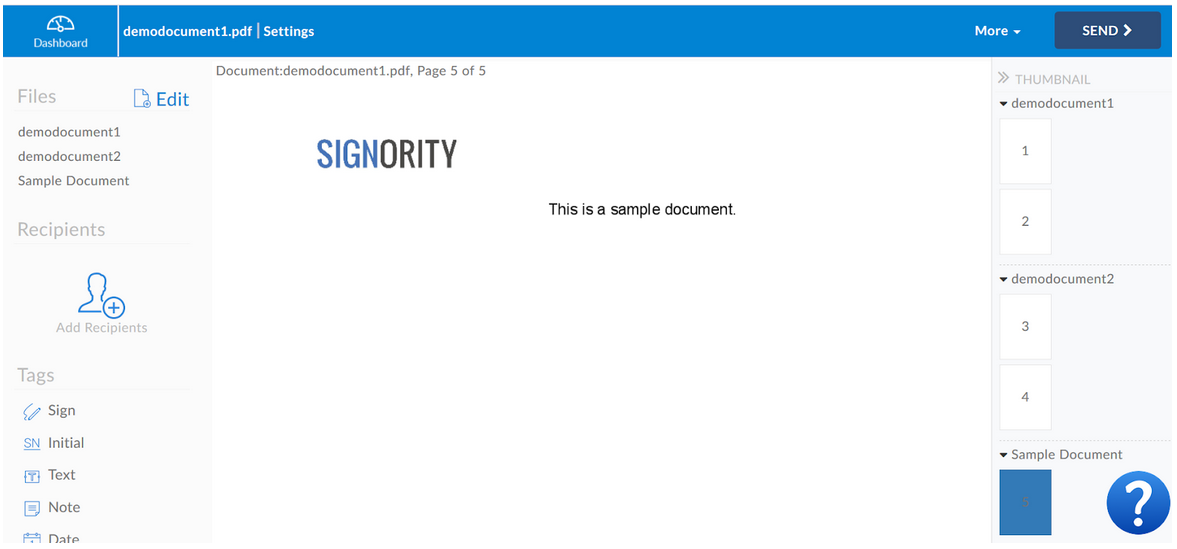
From here, you will be taken to the Document Editor page in your account where you can edit your documents for signing.
Also, you can check out our video tutorial for the Printer Driver below:
https://youtu.be/ZrfiNnnw1AI
As always, we want to thank all of you, our customers for all the suggestions and feedback you’ve given us. This wouldn’t be possible without you. If there’s anything you would like to see us implement, don’t hesitate to contact us. We’re always looking for new ideas to make our service more useful. In the meanwhile, stay tuned for our next application release!