Tags are an integral part of Signority’s eSignature platform. This is how we’re able to collect any kind of information from your signers, so assigning tags to become a crucial part of the workflow. If tags are assigned or setup improperly, the workflow will need to start over, even if the signers entered their information and added their signature! So let’s go over the right way to do it and divert any issues before they happen.
Assigning Tags to the Right Signers
In any workflow in Signority, whether it’s with a regular document or a specific type of template, adding and assigning tags are a crucial part of the process. We’ll be going over how to assign tags to the right signers and what they look like for specific types of signers within Signority.
First, we’ll go over how to assign tags to specific signers.
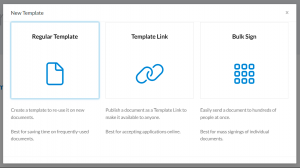
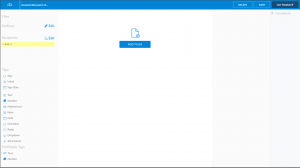
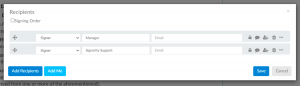
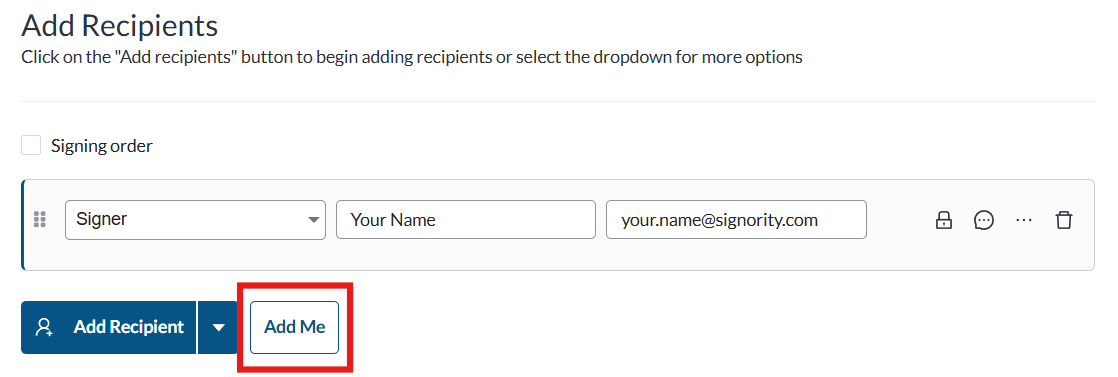
If you’re sending out a regular document, the process will be the same. Upload the document you need signed and Add Recipients until your signer list is set.
When you get to the Editor page, drag and drop a tag into place and then click on it to bring up the options directly above. Use the drop-down menu to find the correct recipient. Notice that the tag colour will change to something else, making it easier for you to distinguish which tags are for which person.
By default, the tag will be assigned to the first recipient in the list, but as soon as you’ve switched recipients, we’ll assign new tags to the most recent recipient.
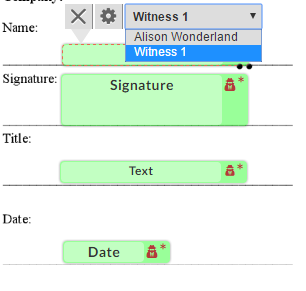
There are also minor changes for other signer types and roles. If your document needs a witness signing, you can set up a witness for specific signers. Tags that are assigned to witnesses, though, look slightly different than regular tags. You’ll notice the icon of a person to indicate a witness tag.
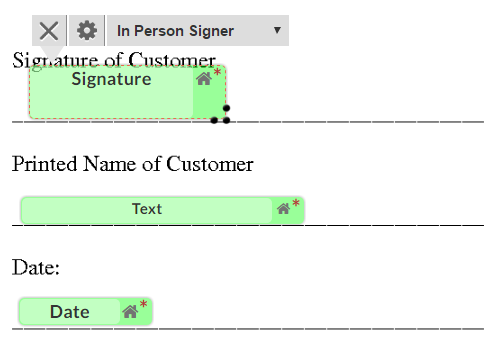
There’s also a slight difference for Signing Hosts. Signing hosts are used whenever you want to conduct an In Person Signing, for people who do not have email or for those who are present in person and still want to use eSignature. You can learn how to set up an In-Person Signing here.
With Signing Hosts, you’ll also notice that assigning tags to them will show with a house icon on the top right.
With these different tag images, it’s good to know exactly what each difference means so that you can complete your workflows without any hiccups. If you want an overview of what the tags do, click here.
Assigning Tags as Optional
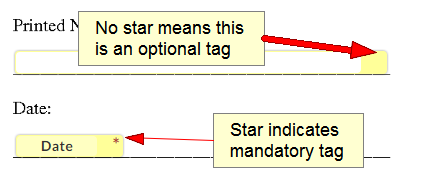
With all of these tags so far, you’ll notice a * (asterisk) in the top right corner of each tag. This indicates that the tag is mandatory and signers are required to fill in mandatory tags to complete their signing.
To make a tag optional, select a tag and use the cog icon to bring up the Settings.
In the Settings window, uncheck the Required box and then click Save.
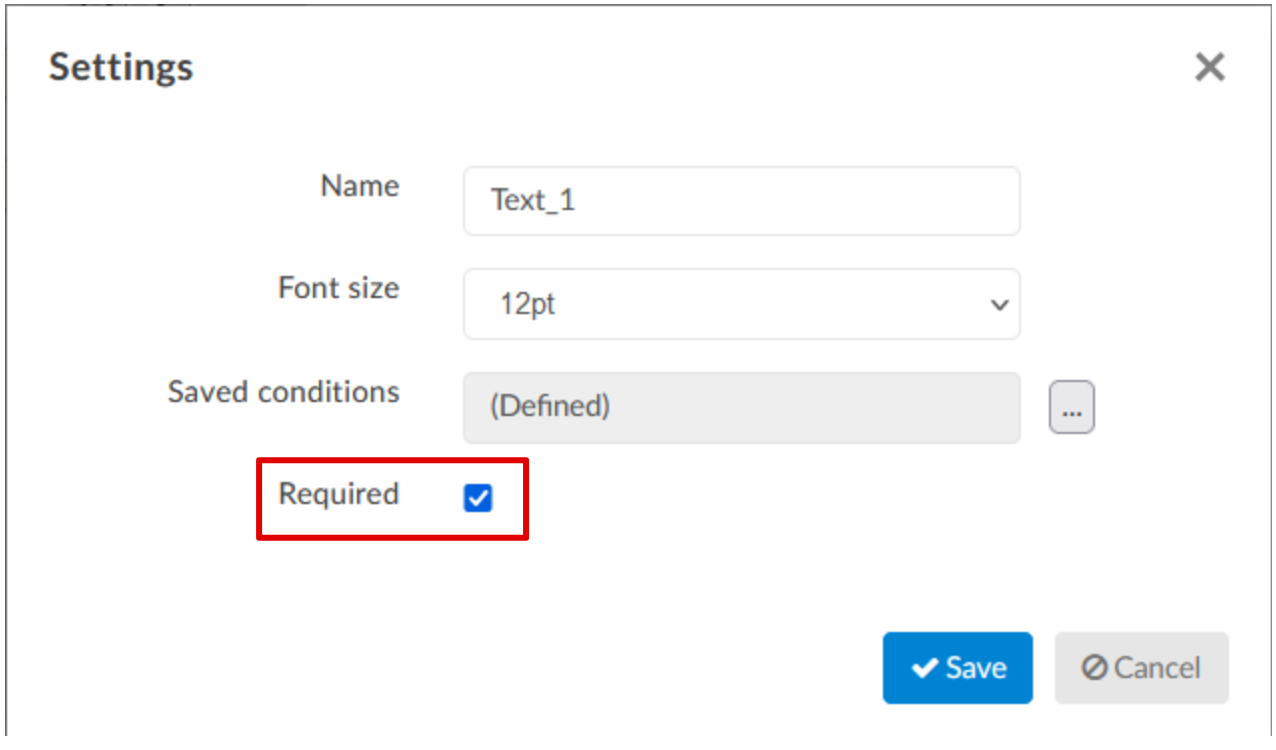
Once you’ve saved the settings for the tag, the tag will no longer have the * red star anymore.
That’s all for how to set up tags. Remember to ensure these steps are taken each time you start a new workflow to minimize the chances of wrongly assigned tags or having mandatory tags in places that should be optional.
Further Readings
Create Electronic Signature Documents for Others
Create an Electronic Signature Template for Easy Document Sending
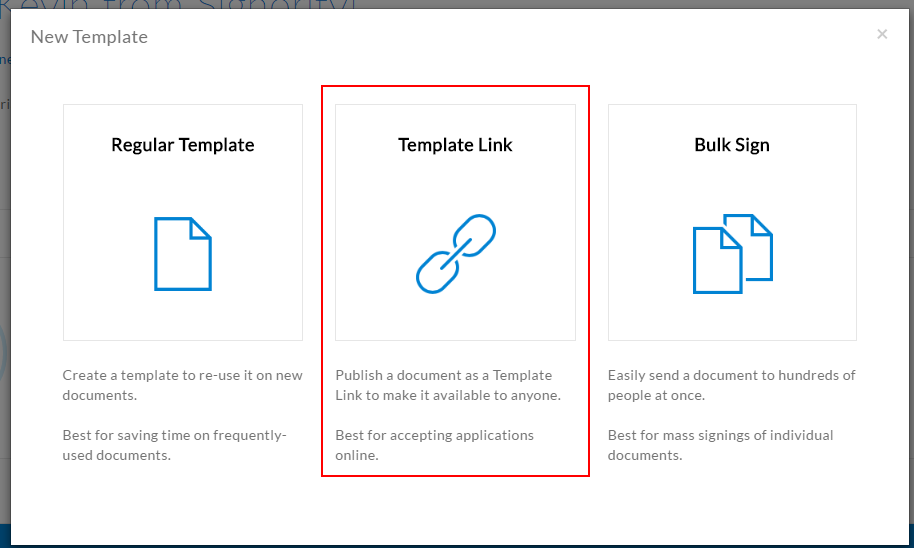
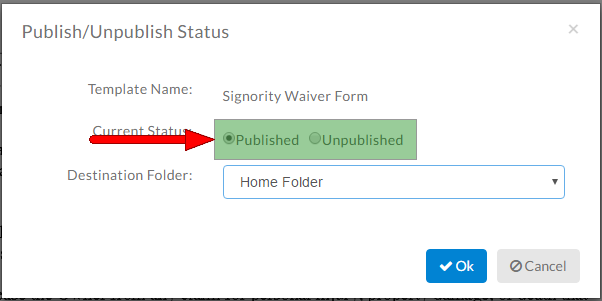
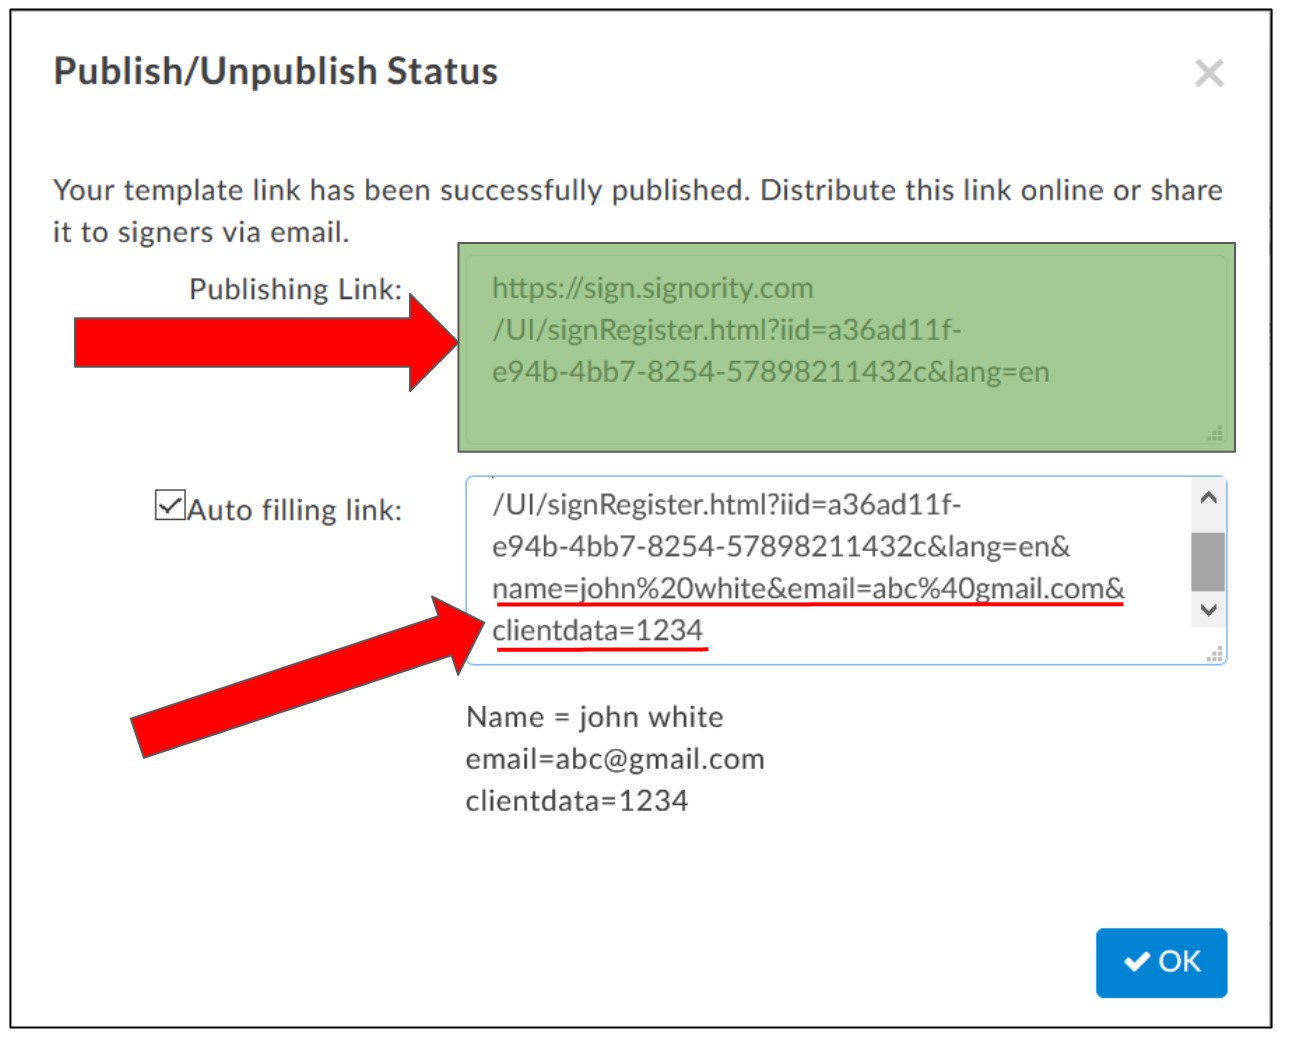
Publish a Template Link for Online Signing


 Click on Users & Teams at the left hand side of the Admin Dashboard
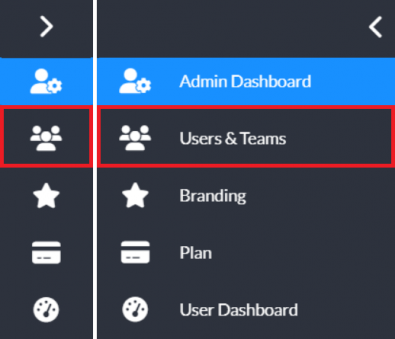 This step must be done by the Billing Admin, Super Admin, or Team Admin.