Available with: All Team Plans Role: Super Admin
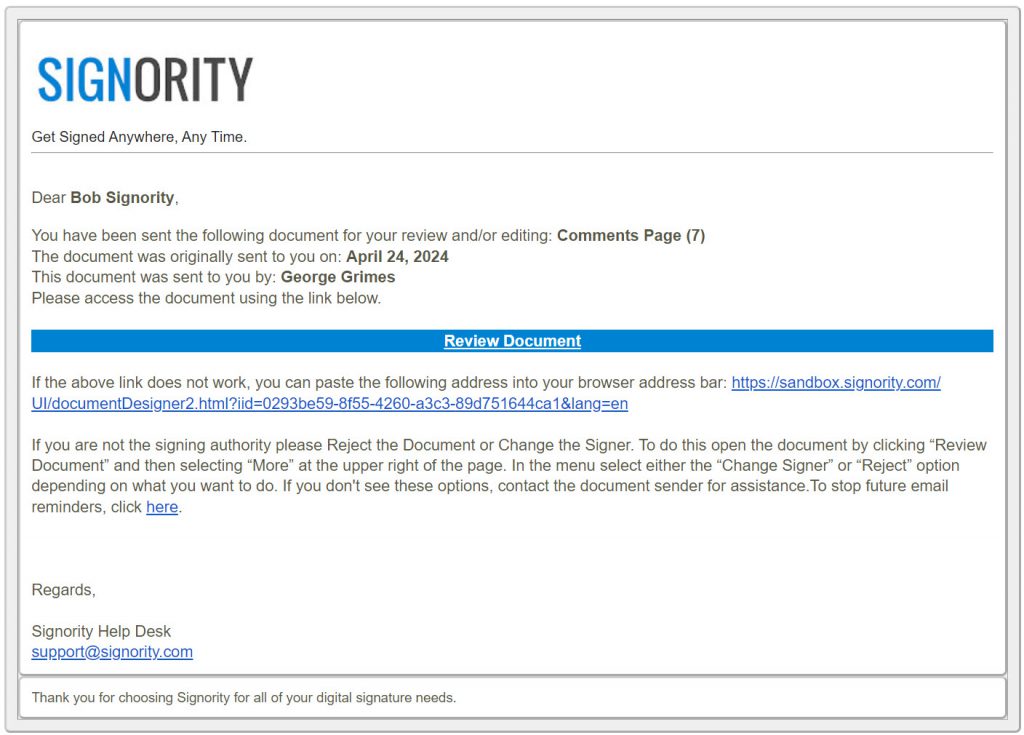
Adding your company logo to Signority emails and signing pages is a simple yet effective way to reinforce your brand identity and build trust with recipients. Instead of seeing Signority’s default branding, your customers, partners, or employees will immediately recognize your organization when they receive email notifications or open a signing page. This creates a consistent and professional experience across all communications, while also helping recipients quickly identify that an email or signing request is legitimate.
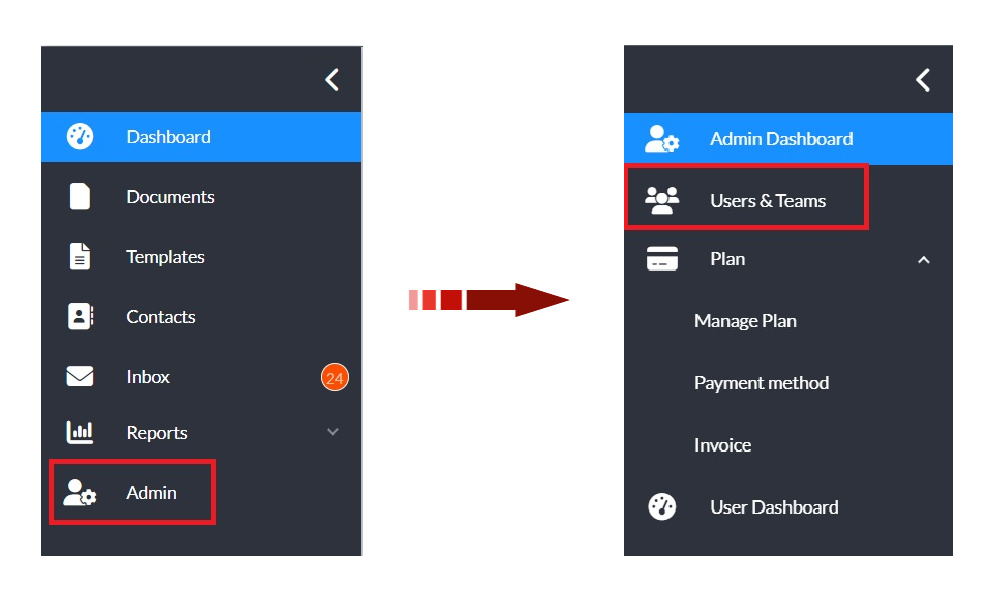
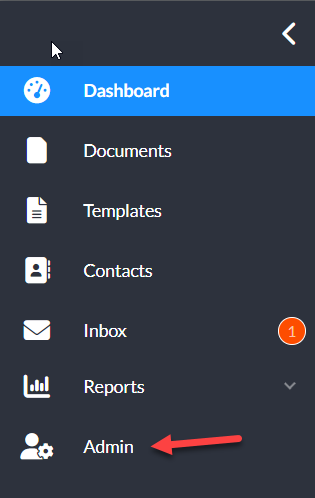
- From the user dashboard, navigate to the Admin Console by selecting Admin on the left sidebar menu.
- In the Admin view, select Branding on the revised side menu.

- In the modal window that appears, select the checkbox next to Use Company Branding.
- You can then uploaded a logo for the email header and/or signing page. This will replace the Signority logo for recipients on the respective pages.
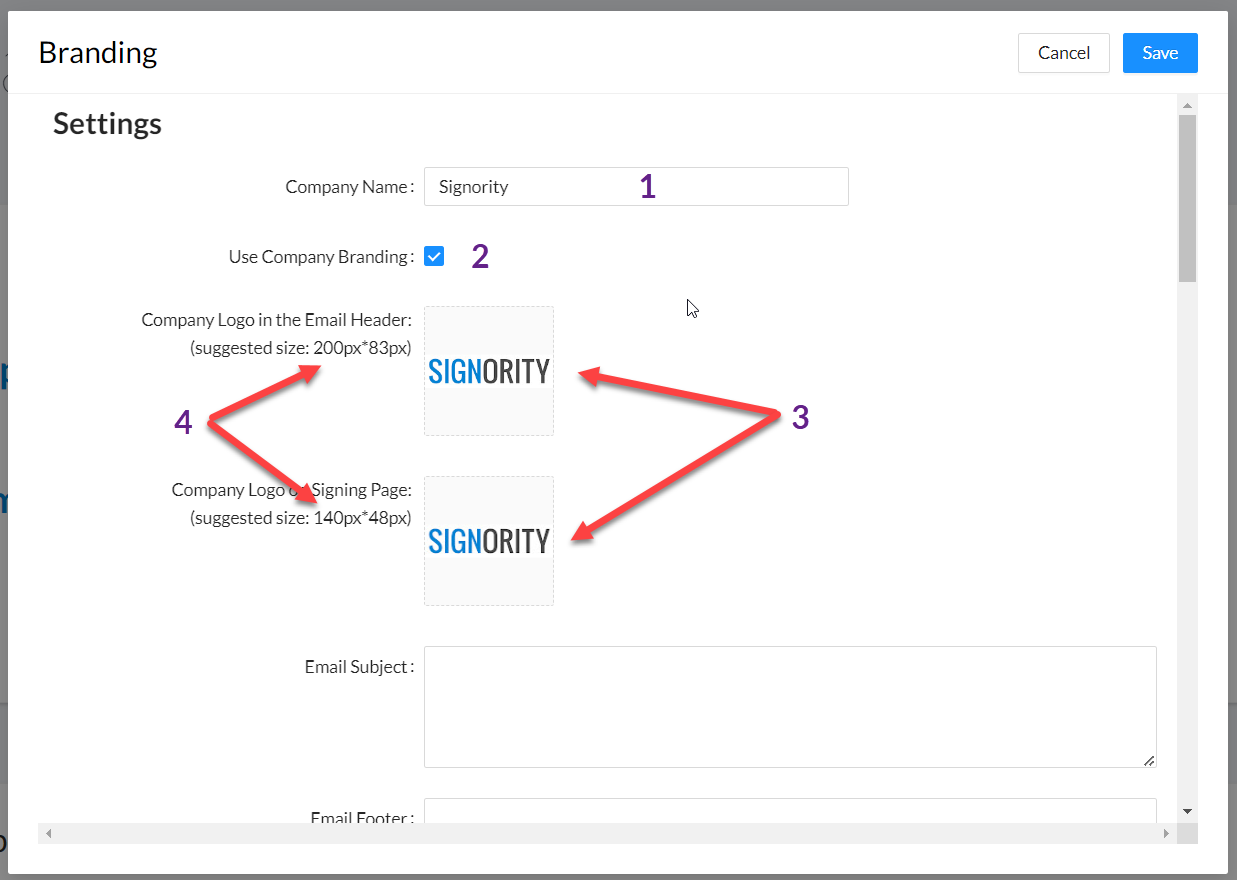
- Click Save in the top right of the pop-up to save your changes.