Available with: Custom Plans
Types of Stamps
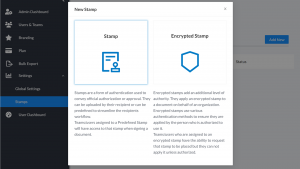
Signority offers two types of stamps with varying levels of authority.
Standard Stamps
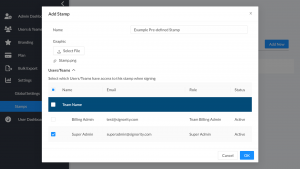
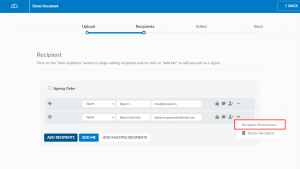
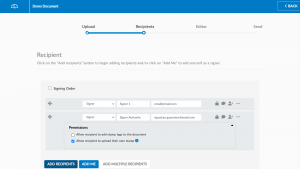
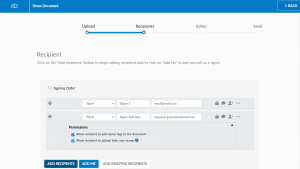
Standard stamps, simply referred to as Stamps, are a form of authentication used to convey official authorization or approval. They are applied to a document using the Stamp tag that can be added by the sender as part of the document package, or the sender can allow the recipient to add the tag themselves after the document has been sent for signature. During the signing process, if the sender has added a stamp tag or if the recipient has added one themselves, the recipient can (if permitted by the sender) upload an image of the stamp or they can select an activated, predefined stamp. Stamps can be predefined for team(s)/user(s) by super admins and team admins on the Admin Console’s Stamps page. Team(s)/user(s) assigned a stamp will have access to that stamp when signing the document.
Learn more about stamps and how to predefine them here.
Encrypted Stamps
Encrypted stamps, formerly named Electronic Seals, add an additional level of authority. They apply an encrypted stamp to a document on behalf of an organization and use various authentication methods to ensure they are applied by the person who is authorized to use it. Encrypted stamps must be set up by a team or super admin on the Admin Console’s Stamps page.
Unlike Stamps, teams/users who are assigned to an encrypted stamp are typically not the ones applying the stamp to the document. They only have the ability to request that a stamp be placed but they can not apply it unless authorized.
Learn more about how to set up and use and encrypted stamp here.
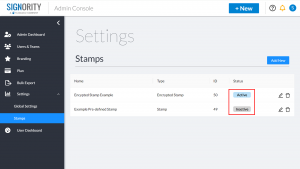
Activating/Deactivating Stamps
Electronic seals are automatically active once they are made. However, if you wish to deactivate or reactivate them, you can do so by clicking on the “Active” or “Inactive” buttons under the Status column on the Stamps page.

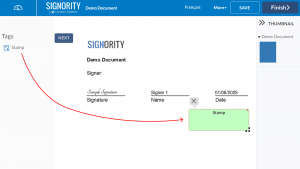


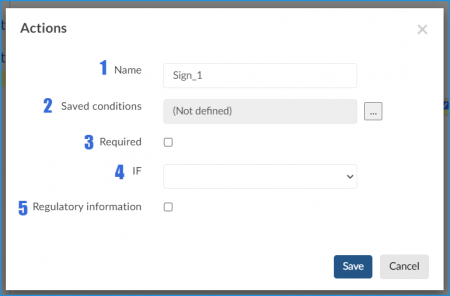
 Once the Actions box appears:
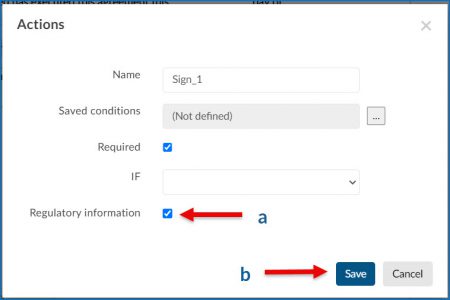
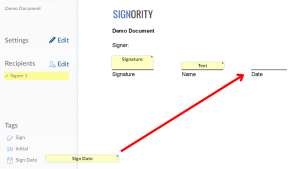
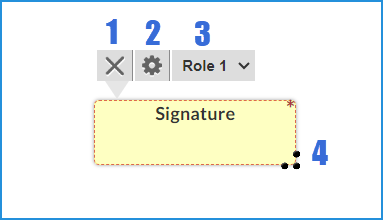 1. X: will delete the tag