Available with: All Team Plans Role: Billing Admin, Super Admin, Team Admin
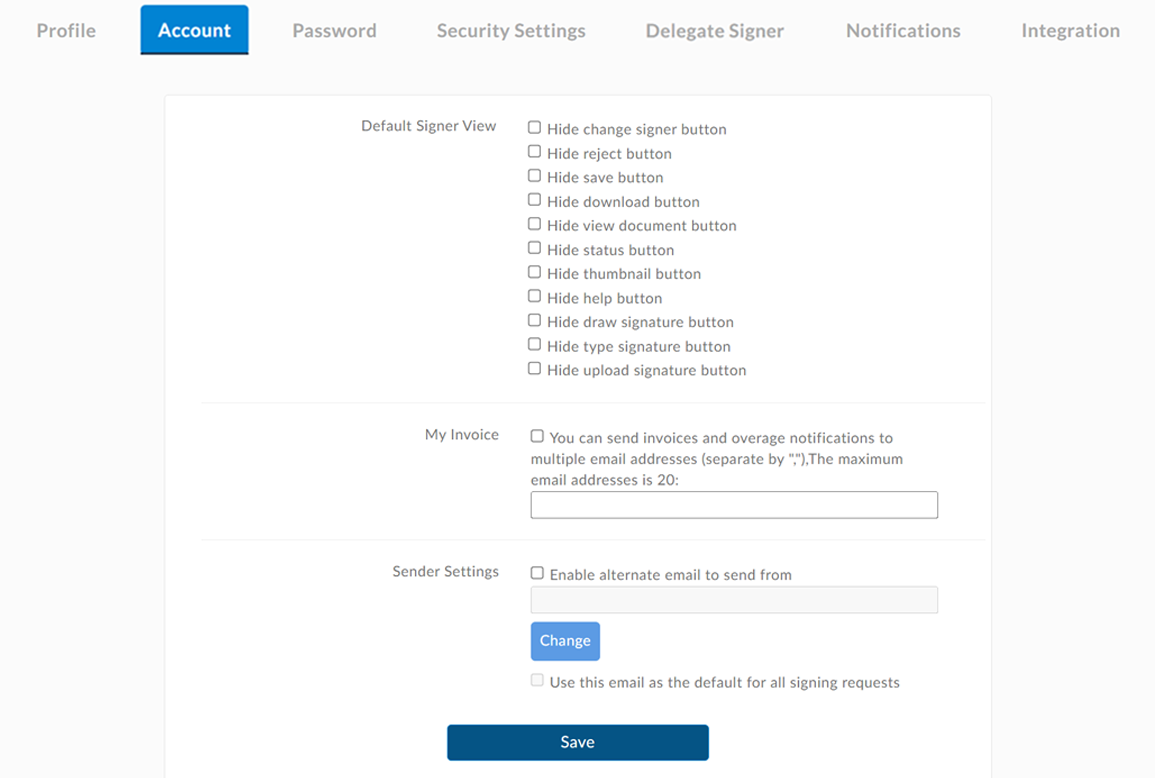
Signer Options allows an organization to determine what, if any, restrictions signers have when signing a document. These are in both Global and Team settings. You can make them a default or enforce (lock) the settings.
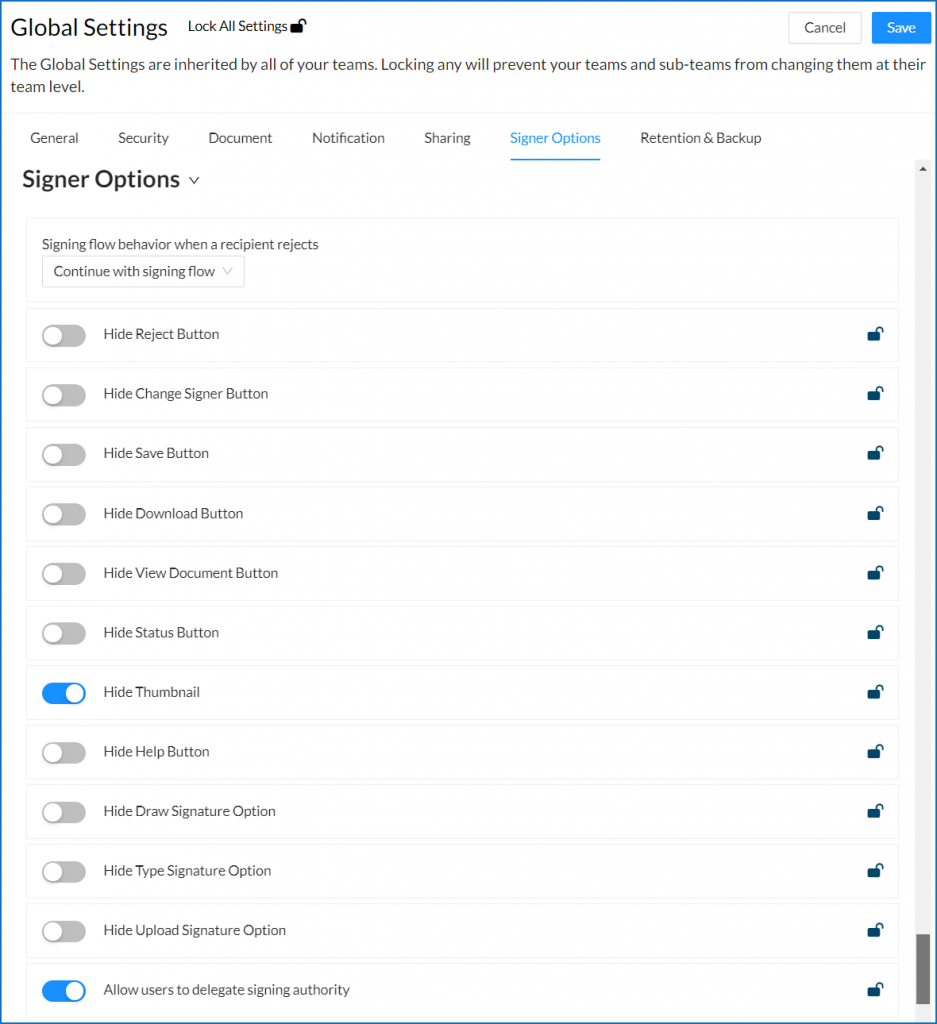
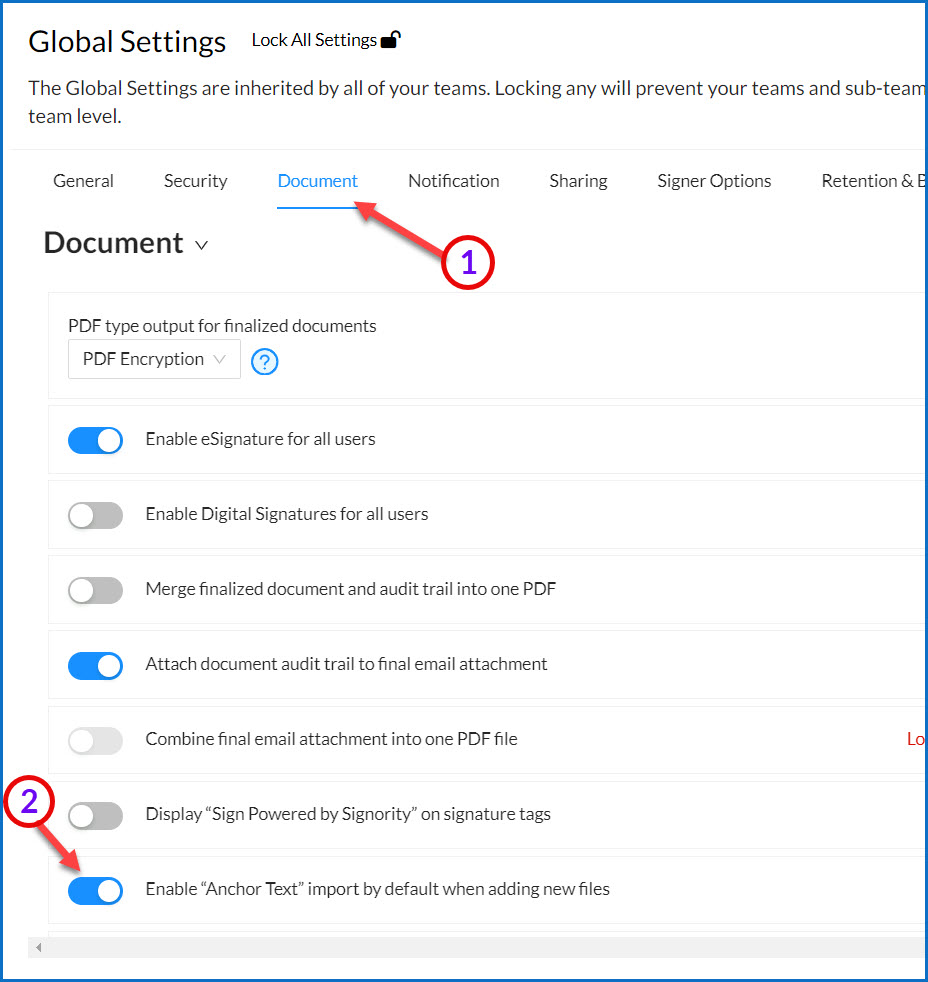
They can be found in both Global and Team settings. By enabling or disabling each option you allow or restrict what a signer can, or cannot, do when signing a document. Below is an image of the Signer Options from Global Settings.
When the slider button to the left of the option is on the left and gray the option is visible to the signer. If the button is on the right with a blue background, then the option is hidden from the signer.
Let’s review what each of these options allow a signer to do if not disabled.
Note: The below setting for controlling the document workflow once a signer has rejected the document is only found within the Global Settings.
Signing flow behavior when a recipient rejects
This dropdown option is directly tied to the setting that comes after it, Hide Reject Button, and is applicable if the setting is disabled; meaning that the Reject button is available to the signer.
Should a signer reject a document this setting allows you to determine what the next action will be regarding the workflow.
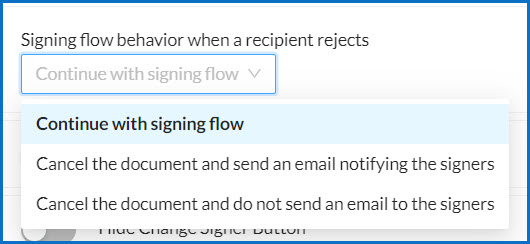
Once a signer Rejects a document you can choose:
- Continue with the signing flow (the document will continue uninterrupted.)
- Cancel the document and send an email notifying the signers (that the document has been cancelled).
- Cancel the document and do not send an email to the signers (do not let the signers know the document has been cancelled).
Hide Reject Button
This option will hide the Reject option. This option allows the signer to reject, this action will let you know that they have decided not to sign the document. You can set what the workflow will do next in the Global Settings. By the “Hide Reject Button” option you will see the dropdown with three (3) options, as in the image below.
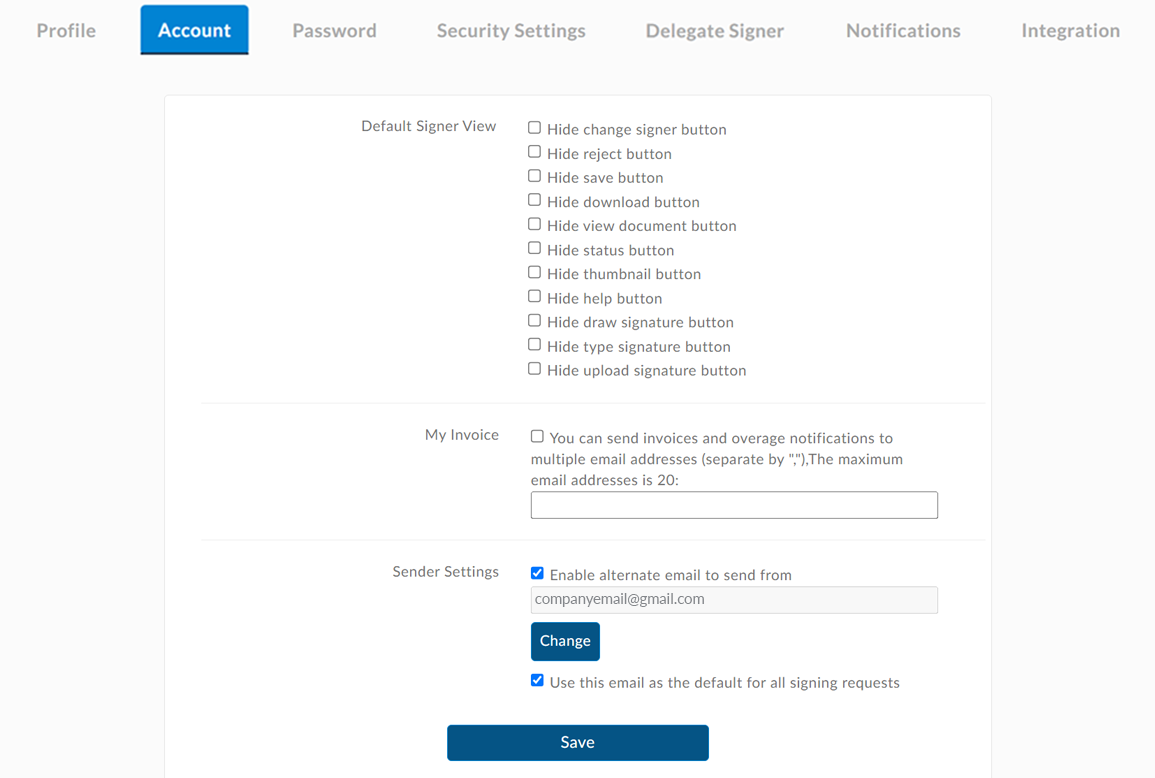
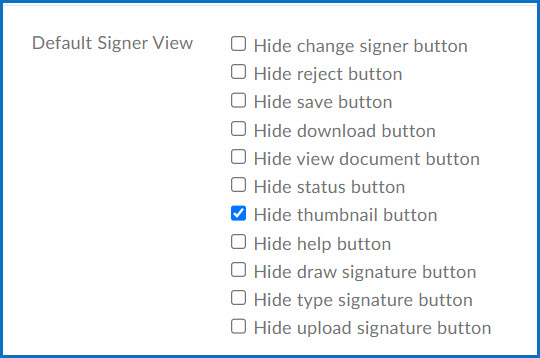
Hide Change Signer Button
Change Signer allows the signer to do exactly what it says, it allows them to reassign their tags in the document to another signer, i.e.: A husband may change it so that his wife will sign the document. At this time Signority will ask for her name and email address to forward the document.
Hide Save Button
If the Hide save button option is enabled, the recipient will not have the ability to save their progress as they are undergoing the signing process, and will have to either fill out the entirety of a form in one session or start over the next time they access the document.
Hide Download Button
Upon selecting the Hide download button option, the signer will not have the option to download the document that they are currently signing.
Hide View Document Button
When the Hide view document button option is picked, the signer will not be able to see the document again after they have signed it.
Hide Status Button
If the Hide status button option is selected, the signer will be unable to view the document’s ID, GUID, name, Creation date, Expiry date, Recipient list, and history while information about whether or not other recipients have signed will also be unavailable.
Hide Thumbnail
If the Hide thumbnail option is selected, the signer will no longer see the thumbnail summary showing how many pages there are in each file that makes up the document.
Hide Help Button
If the Hide help button option is selected, the signer will no longer see the help button located at the bottom right side of the page.
Hide Draw Signature Option
This will hide the Draw tab on the Signature box when they click to sign the document, preventing them from using their finger or stylus to apply their signature.
Hide Type Signature Option
This will hide the Type tab on the Signature box when they click to sign the document, preventing them from typing their signature.
Hide Upload Signature Option
This will hide the Upload tab on the Signature box when they click to sign the document, preventing them from uploading an image of their signature to use to sign the document.
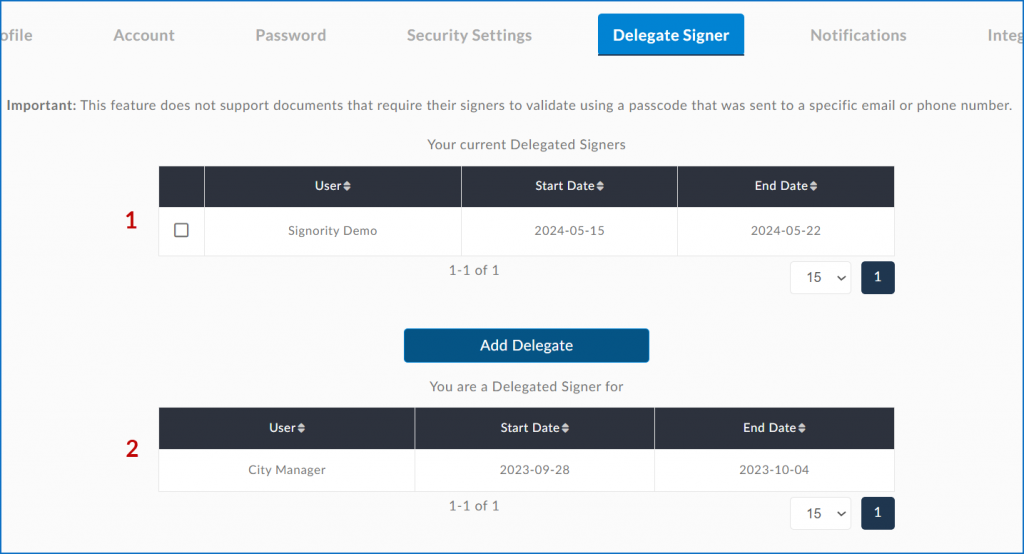
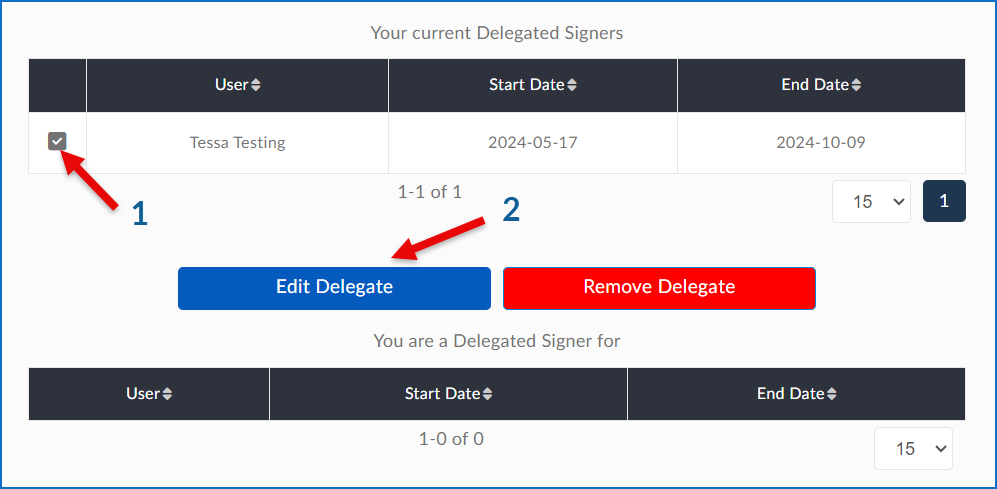
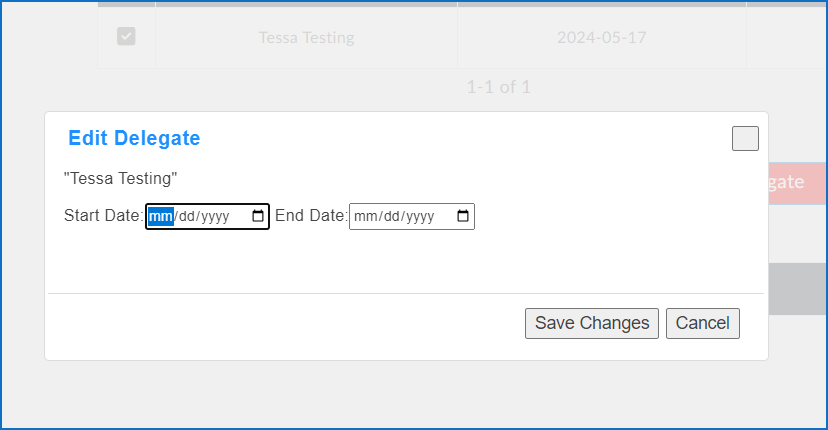
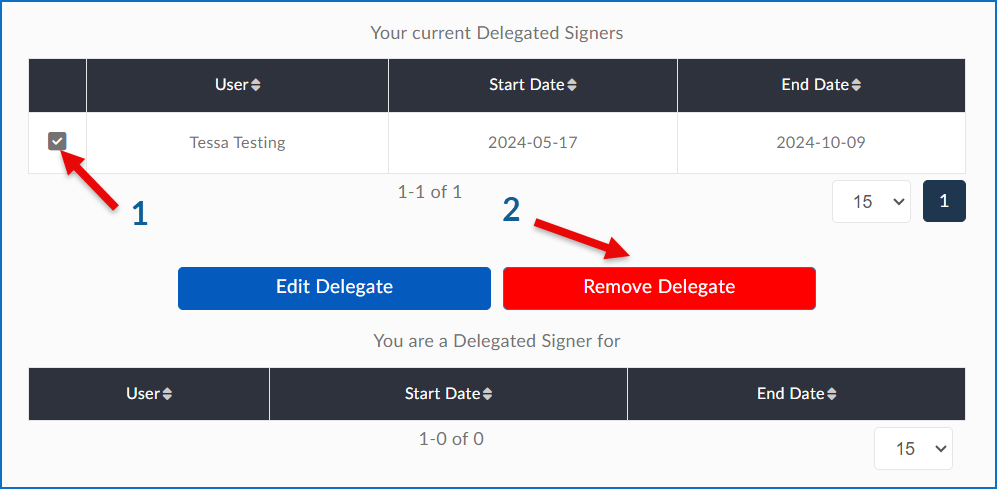
Allow Users to Delegate Signing Authority
When enabled this option allows users to designate a member from their own team to sign a document on their behalf. This option is particularly useful when a user is going on vacation and has time sensitive documents out for signing. You can read how to delegate a signer here.
 Click Save and continue with the rest of the document creation process
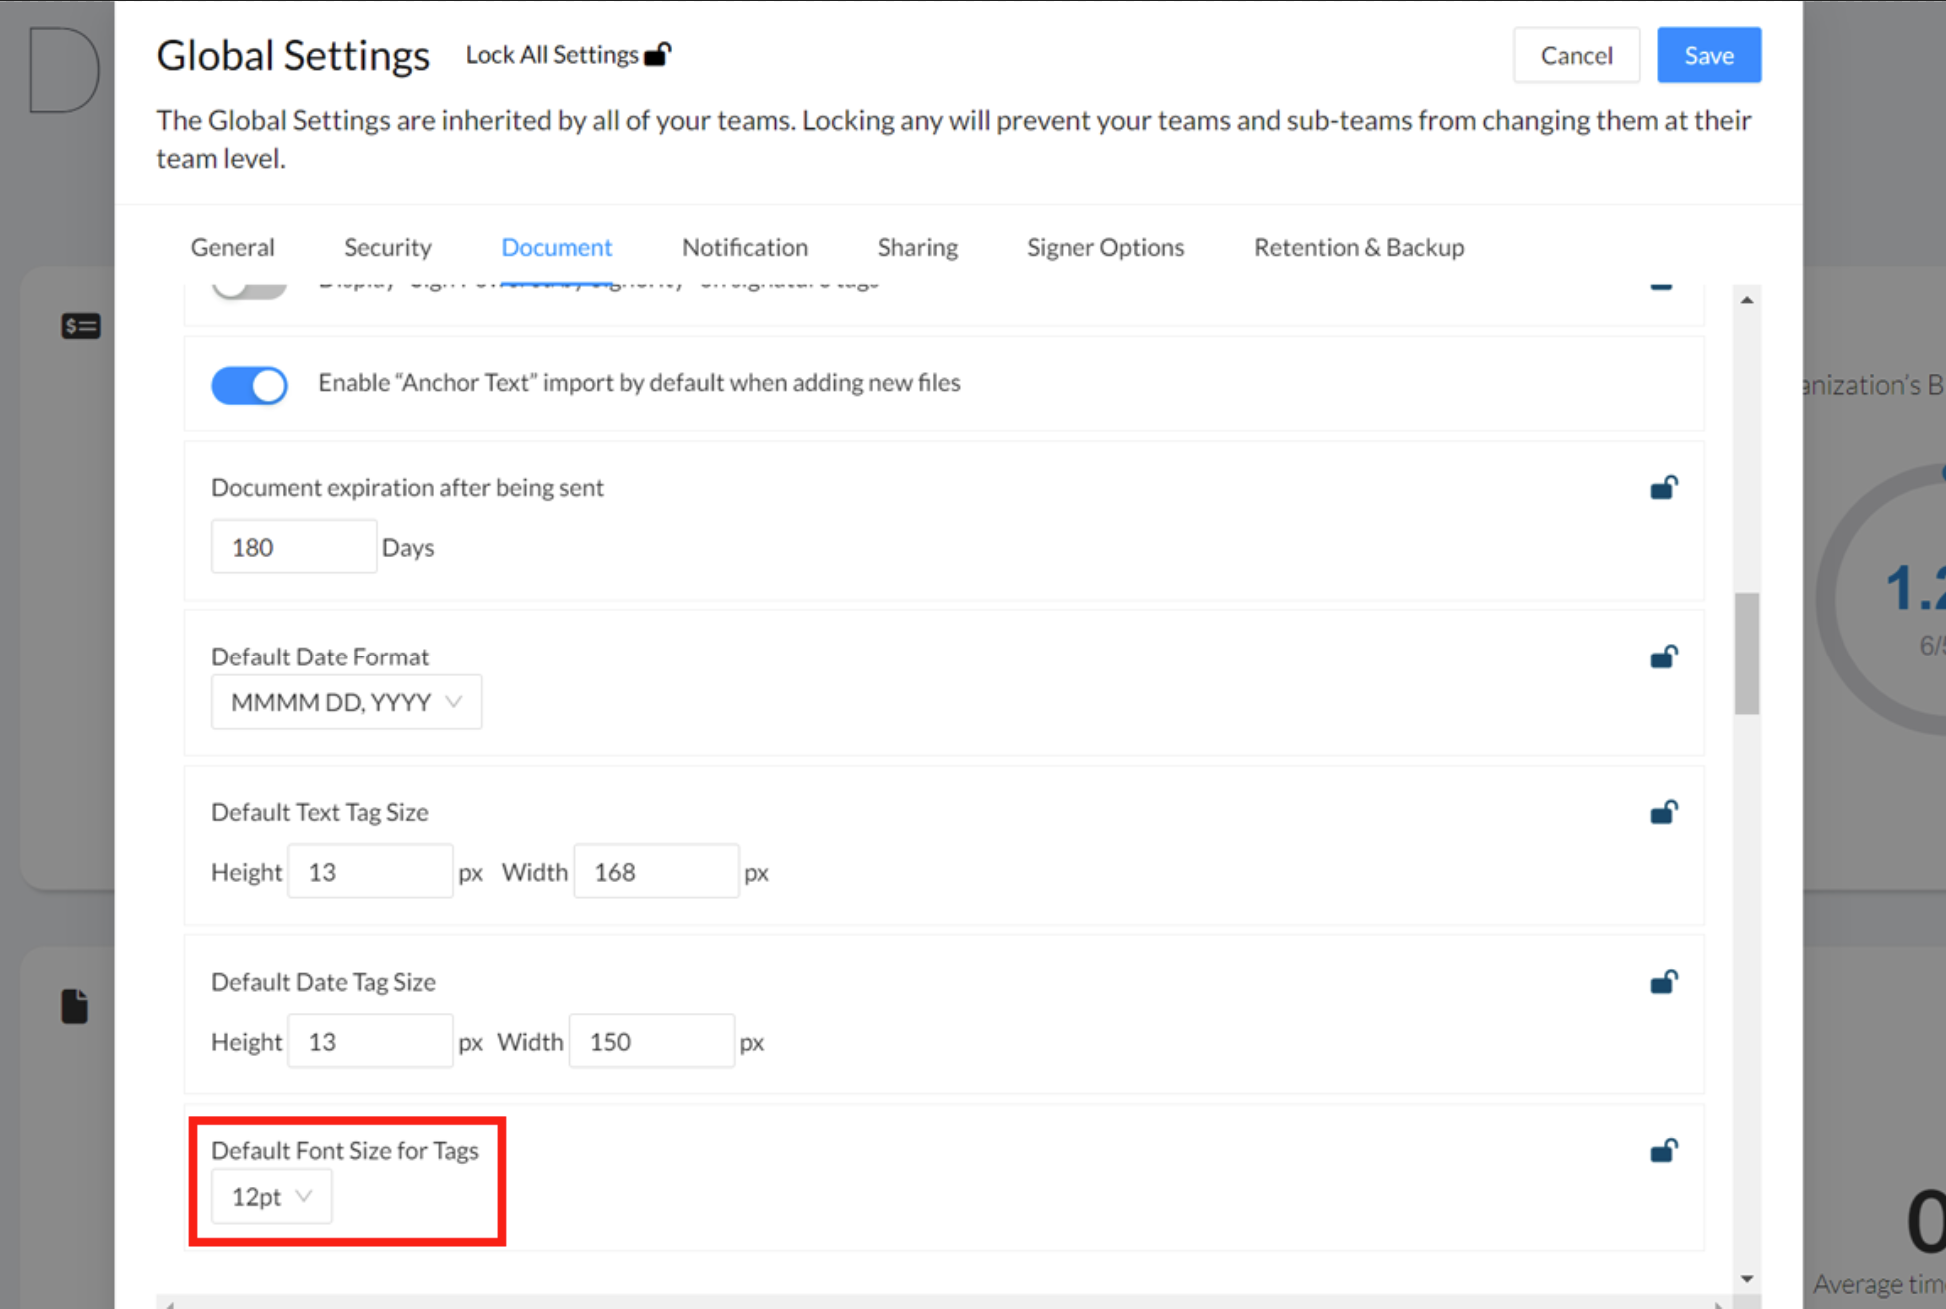
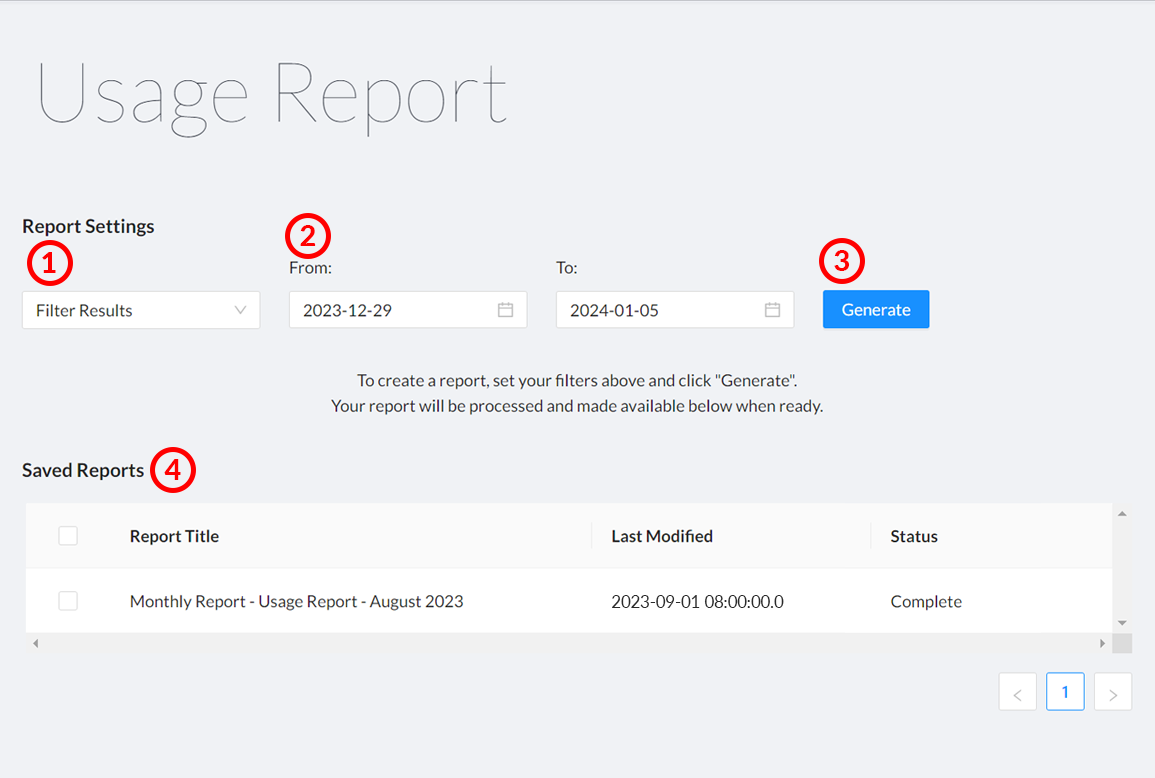
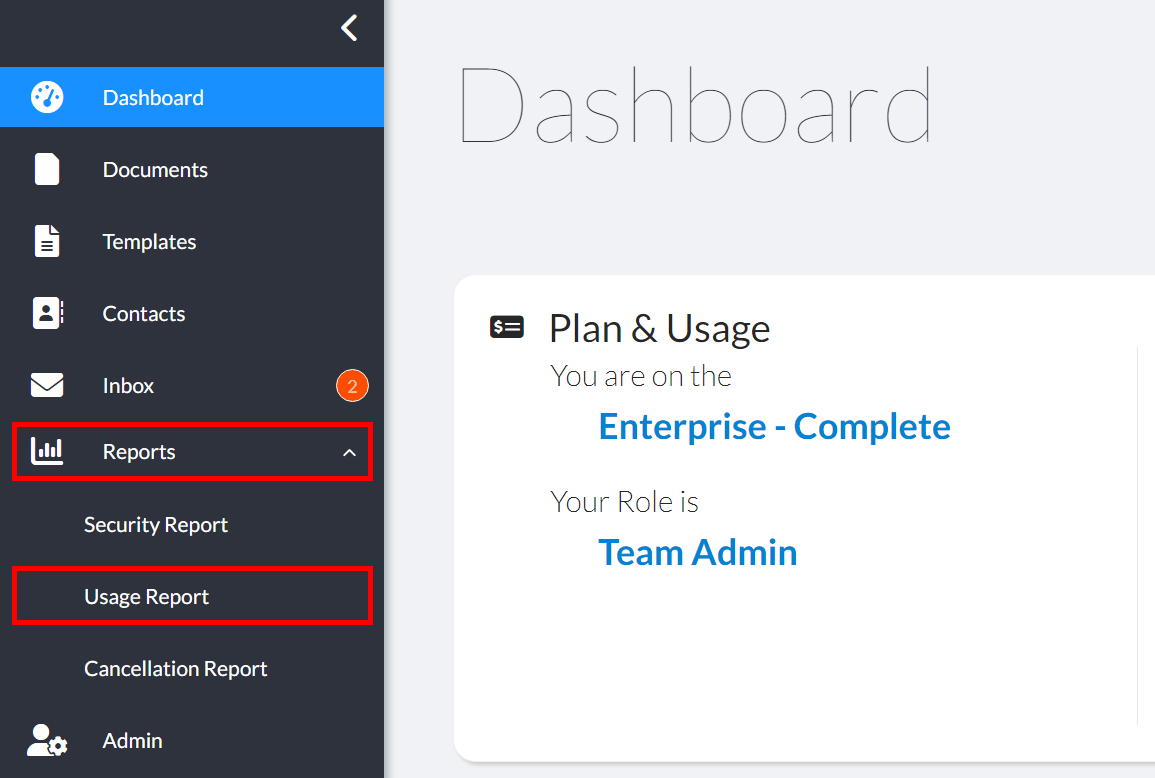 When the Usage Report page opens, you will see a window similar to the one below. On this page, you will have access to your monthly reports as well as any previous usage reports you have run.