Doc Admin Dashboards
User Dashboard
The User Dashboard is the Dashboard you see when you first sign into the Signority platform.
One thing that you will notice is that the Doc Admin does not have an Admin Dashboard like the other Admins do. This is because they are only responsible for managing documents that are either shared, or unshared, within the teams they have been assigned.
They can do this from the Shared Documents subfolder in their Documents Folder.
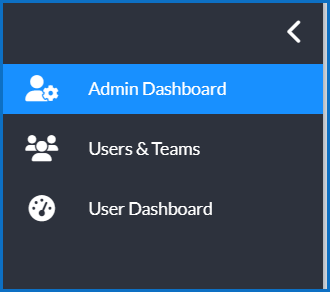
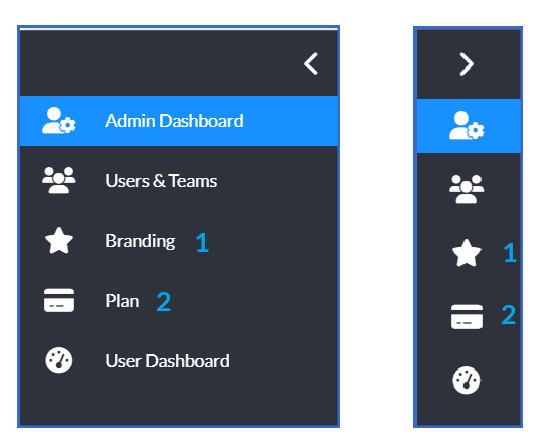
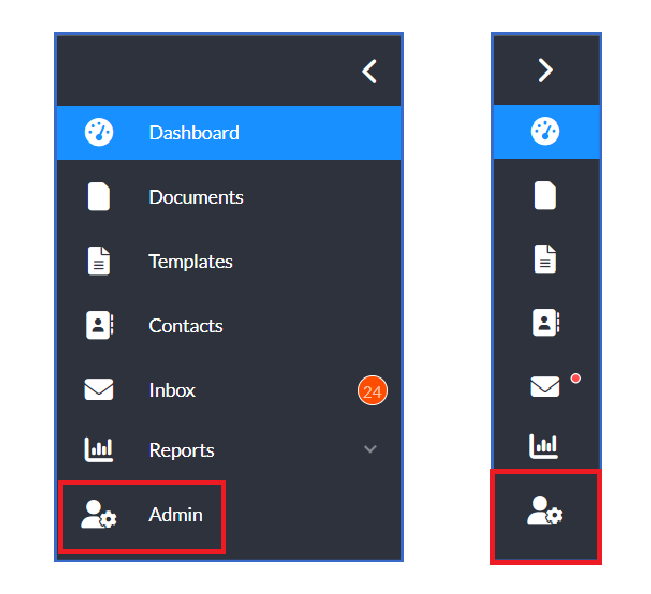
For their User Dashboard, on the left of your screen you will see the left hand sidebar menu. You can either keep the menu expanded as below or collapsed as seen below, using the arrow on the top right to the menu.
The Doc Administrator’s Dashboard has four rows of tiles in the new look.
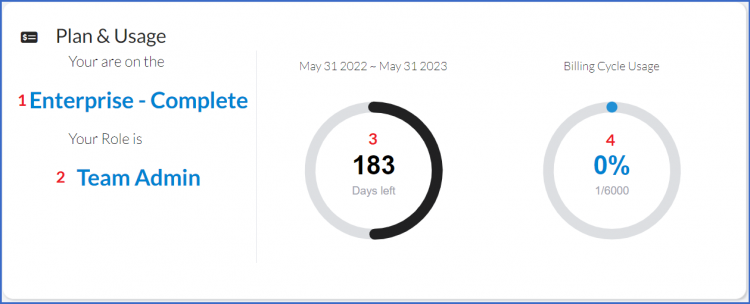
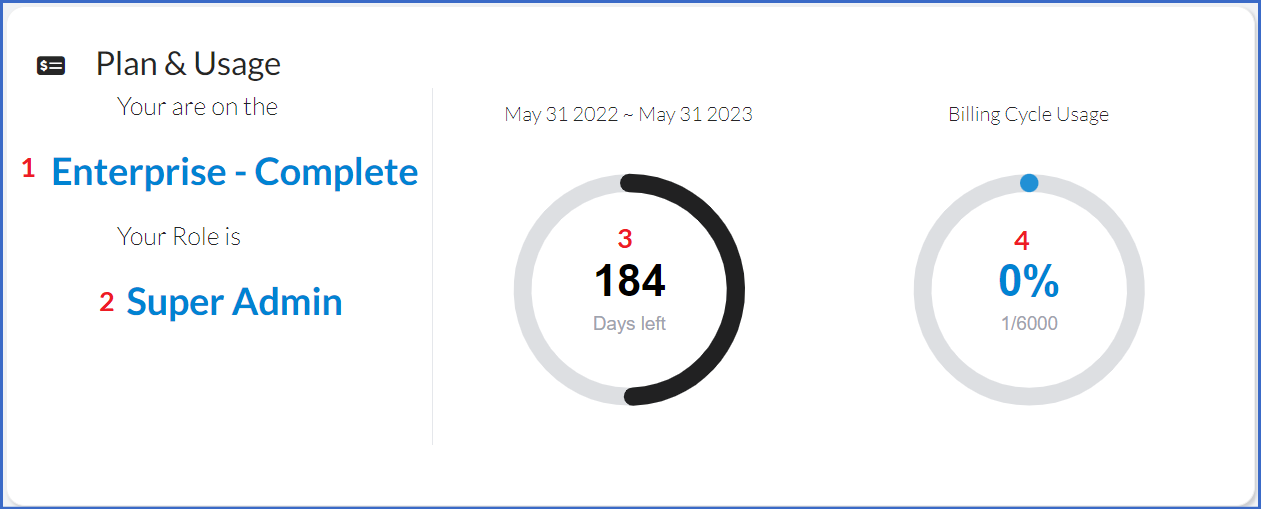
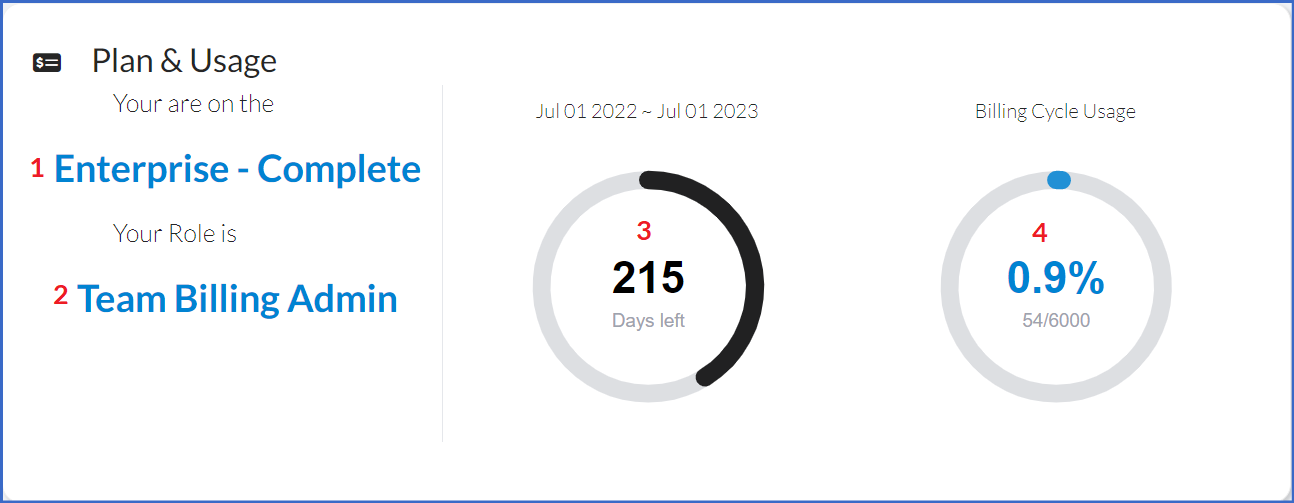
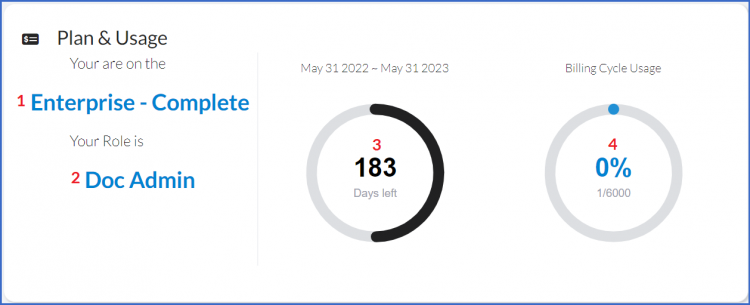
The top tile is your Plan & Usage tile. Seen below it contains the following subscription information:
- Your subscription Plan
- Your role in the plan
- How many days are left in your paid subscription period
- How much of your document packages have been used
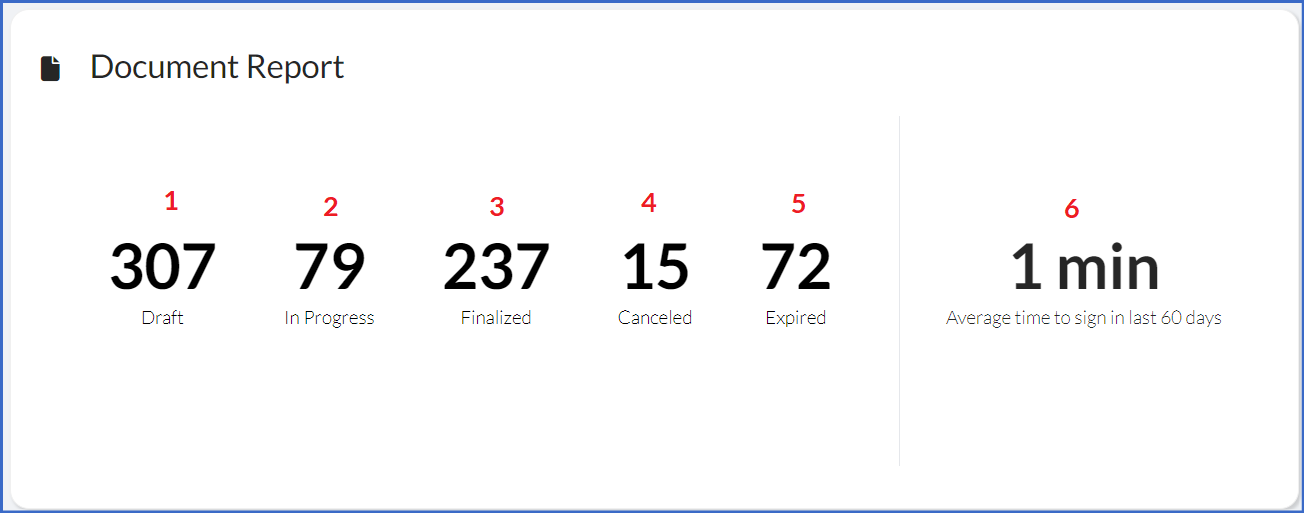
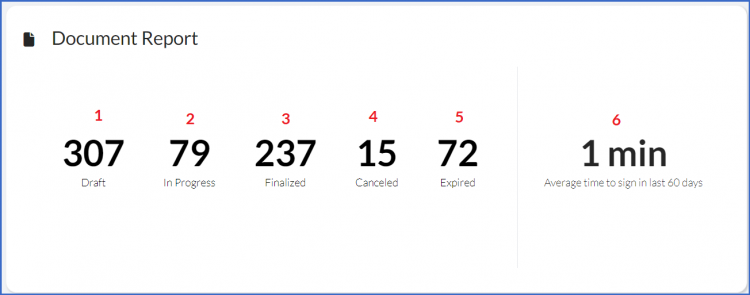
Under your Plan & Usage Tile you have the Document Report Tile. This tile shows you how many documents you have in each of the listed categories.
- Draft: New Documents that you have started but not yet sent.
- In Progress: Documents that have been sent for signature but have not been completed yet.
- Finalized: Documents that have come back with all requested signatures.
- Cancelled: These are documents that you sent for signature but you had a reason to cancel it during the workflow.
- Expired: These are documents that have been sent for signature and have expired before they were finalized.
- The amount of time, on average, it has taken for a document to be finalized in the last 60 days.
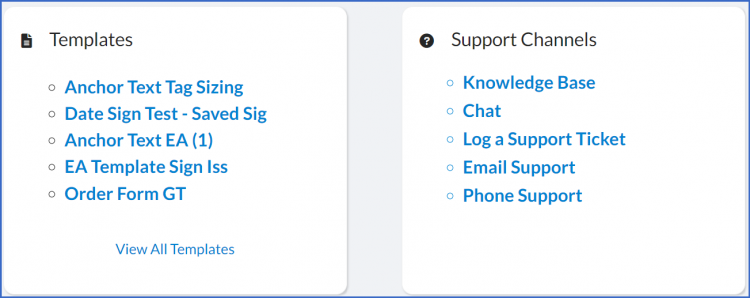
The next set of tiles will show you your:
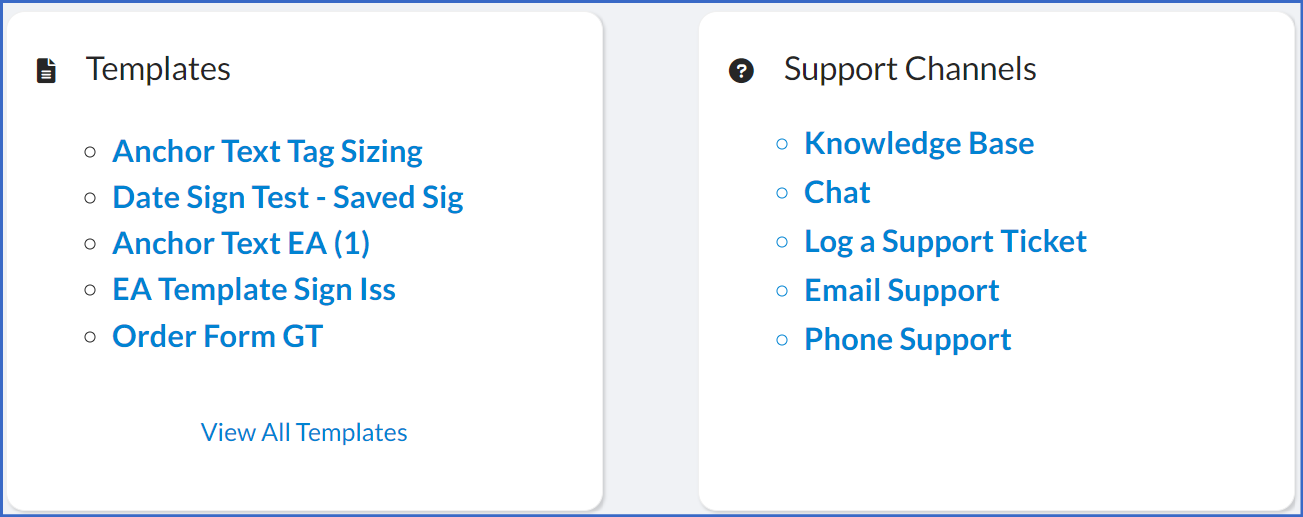
- Most recently used Templates
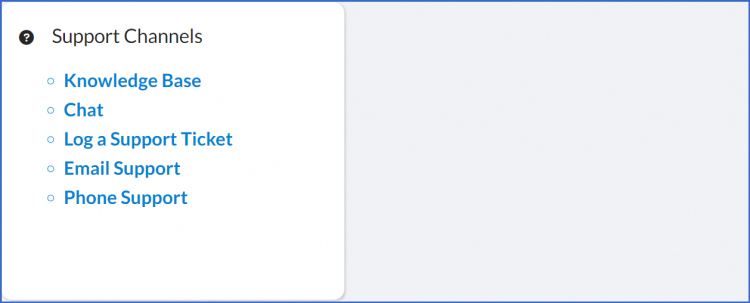
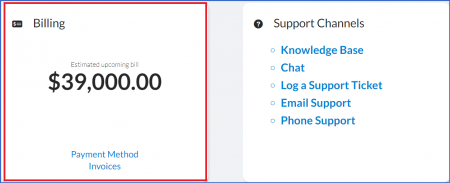
- The Support Channels tile.
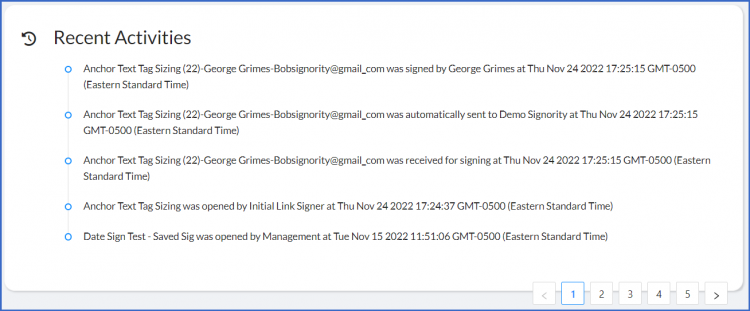
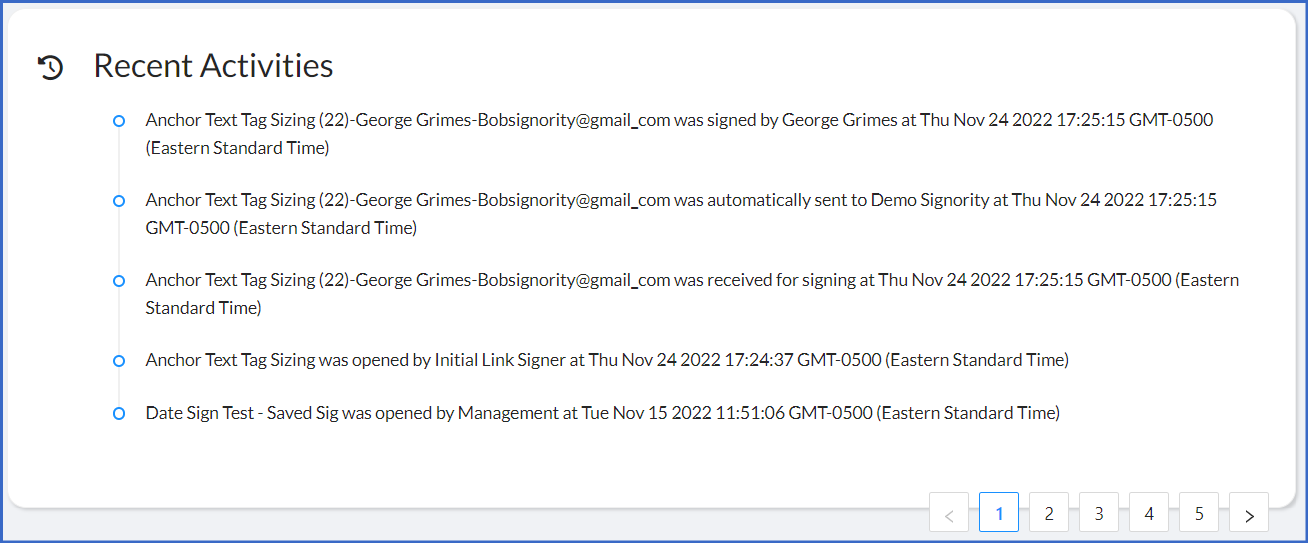
Finally you will see your Recent Activities tile.