What is the purpose of a Doc Admin? A Doc Admin can view and assist with shared documents that are In Progress.
Available with: All Team Plans
Doc Admins do not have the same permissions as a Super Admin or Team Admin. They cannot add or remove teammates or set team settings. A Doc Admin’s role is to be able to view shared documents in other subteams that they have been given access to. You can assign multiple Doc Admins to the same sub-team.
This allows them to review the activities of the sub-team’s they have been assigned.
A Doc Admin can not only view the shared documents of the teams they have been assigned, they can also click on the status of the document and change or remove a signer, or resend a document.
They may also see documents that have not been shared within the teams they are assigned. Currently a Doc Admin may not change or remove a signer, or resend a document for documents that have not been shared.
NOTE: For a Doc Admin to be able to change/remove a signer or resend a document the document has to be shared with the sub-team.
Finally, like a Regular User, a Doc Admin may also:
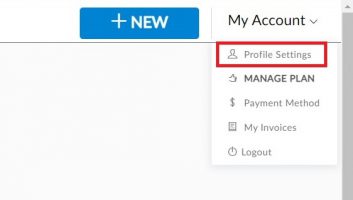
- Configure Document Sharing for his/her account through Profile Settings under My Account
- Configure Template Sharing for his/her account through the Profile Settings under My Account
- Read his/her own documents and templates and shared documents and templates in his/her subteam through the Profile Setting under My Account