Available with: Team Plans
This tutorial will show you how to move one or more users from one team to another.
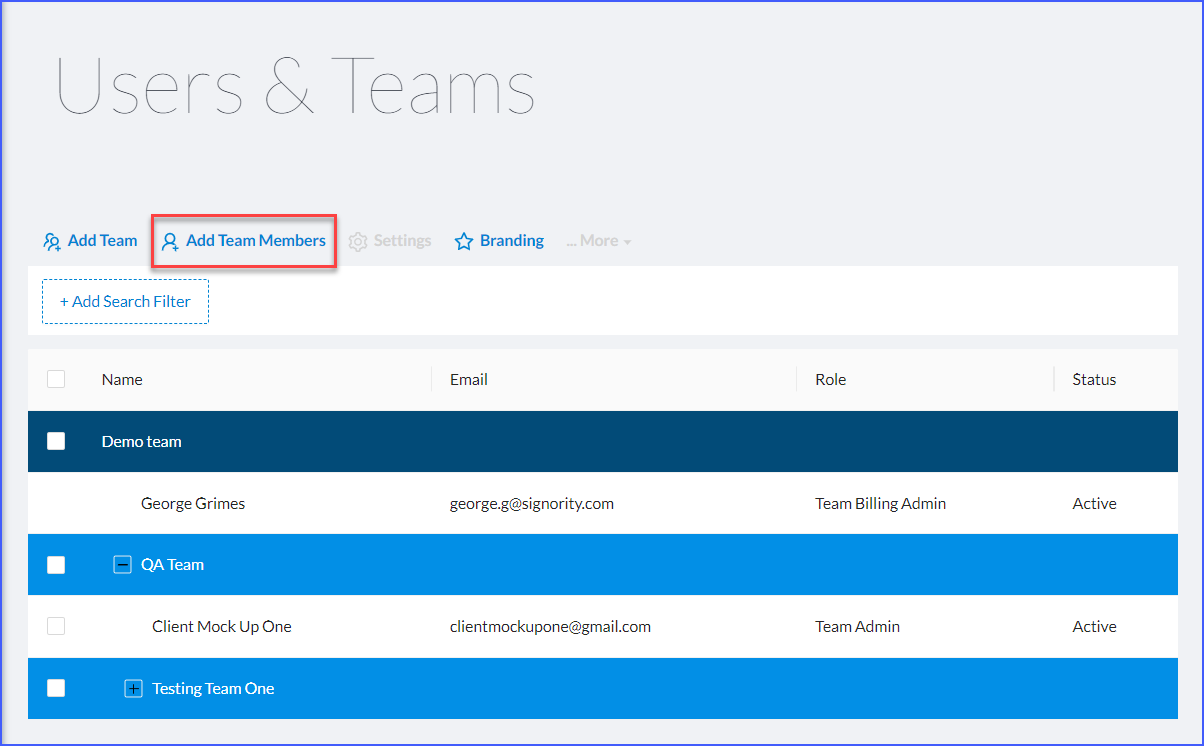
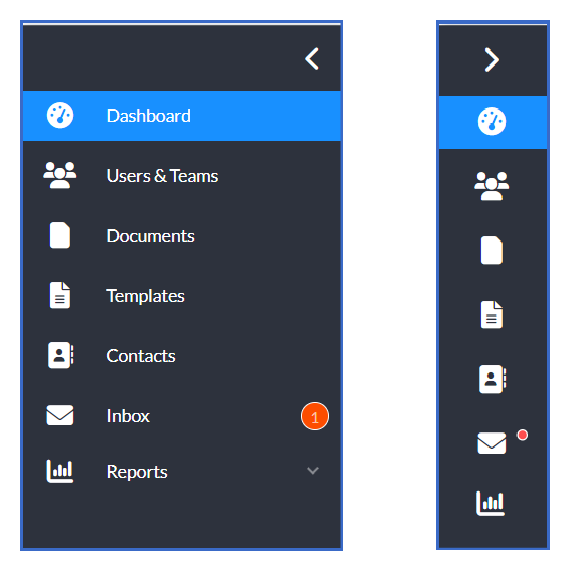
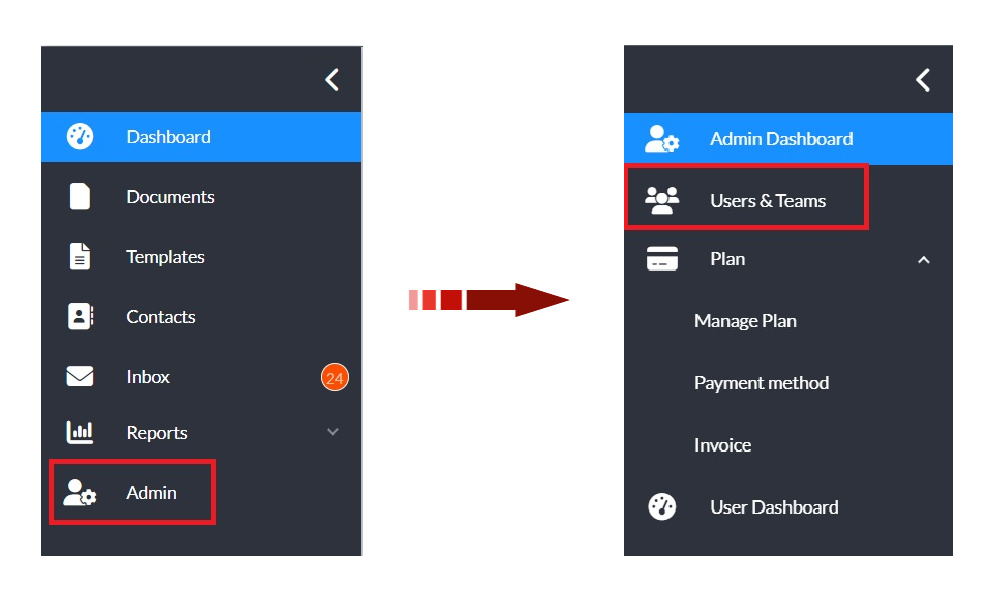
To move a user from one team to another from your Dashboard select Admin in your black sidebar menu and then select Users & Teams in the updated sidebar menu. (your menu may look different than the image depending on your role)
There are two ways to find the user(s) that you are looking to move.
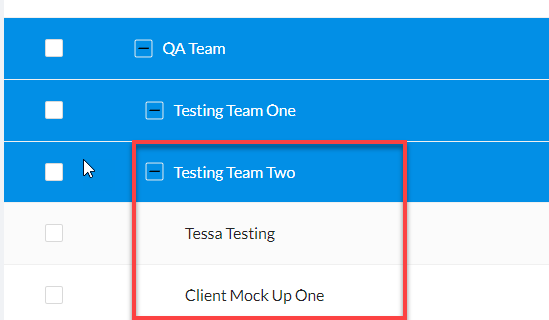
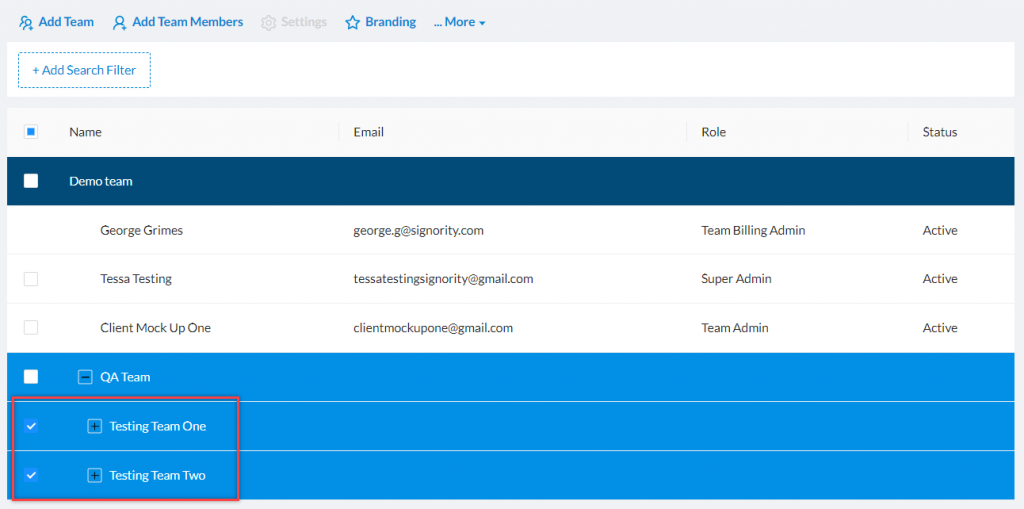
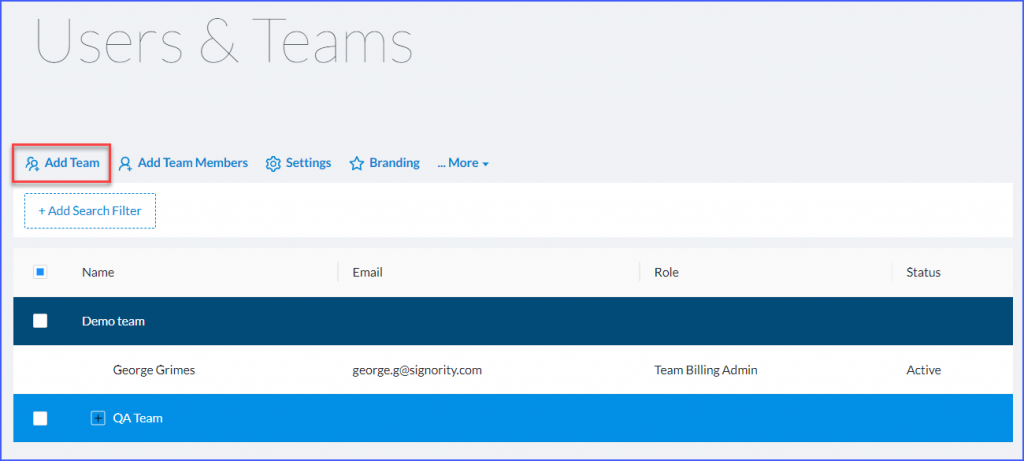
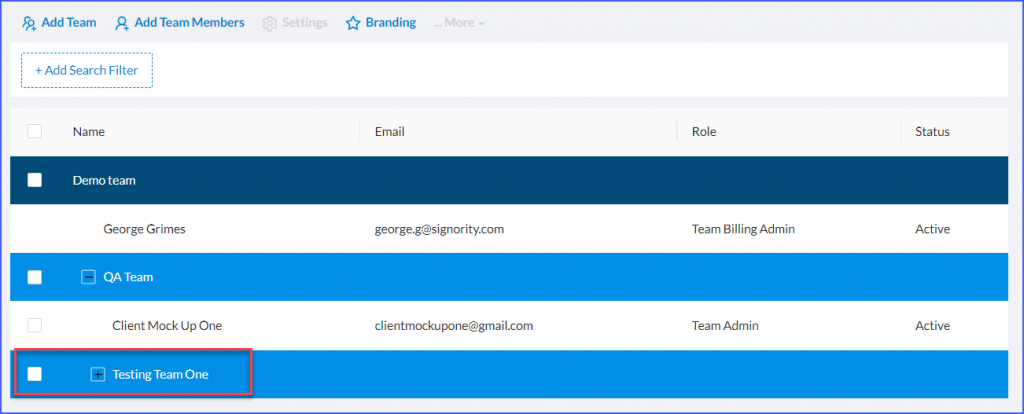
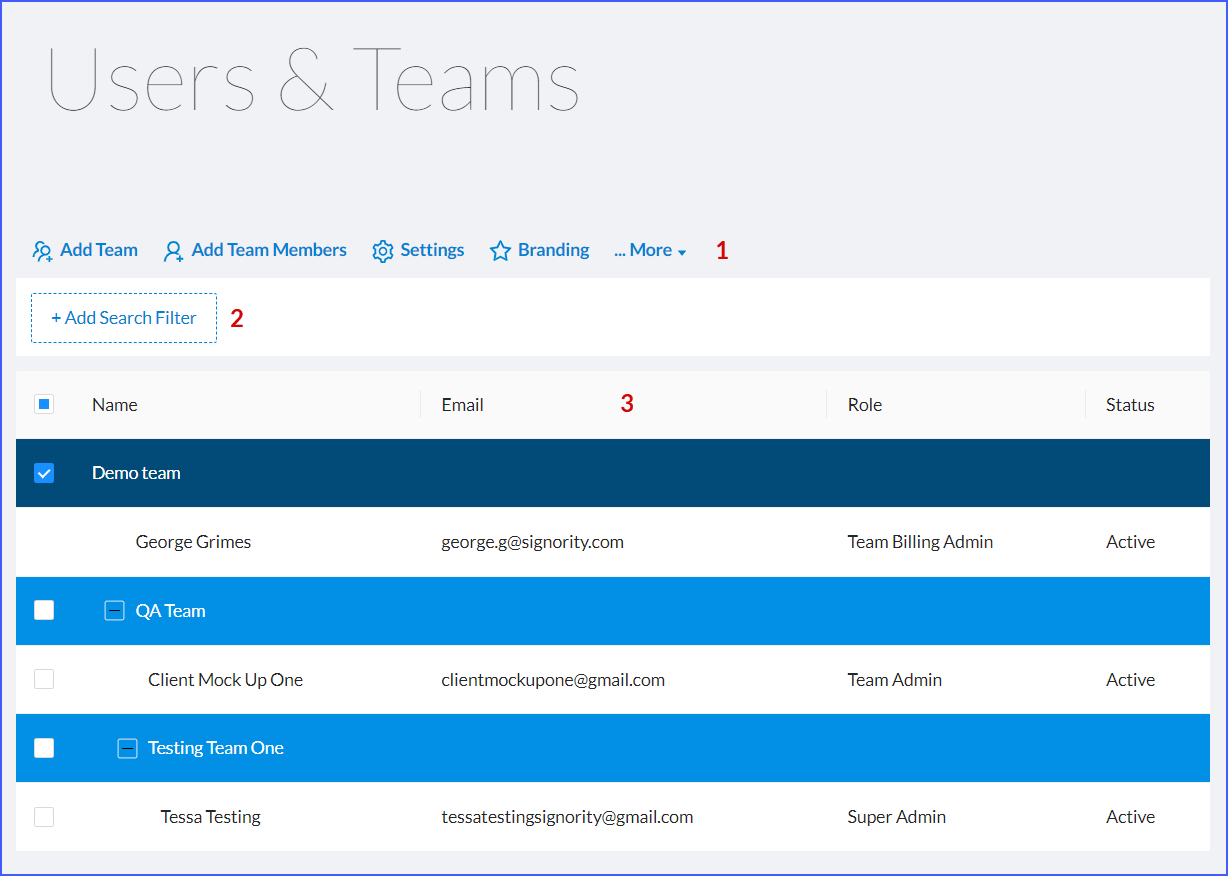
The first way you can find the team where the user(s) are currently assigned and select the checkbox beside their name(s) as below. You can see that the users are in the team “Testing Team One” which is a subteam of the QA Team.

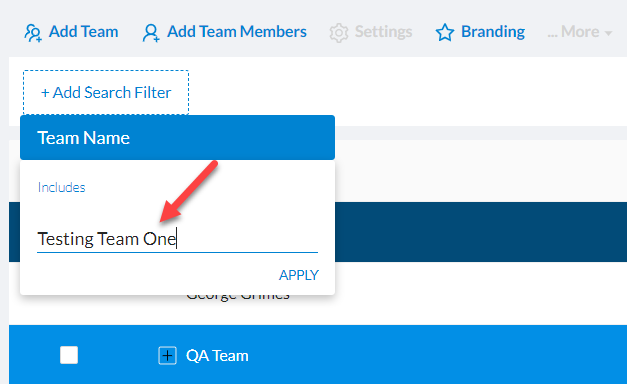
The second way to find them is to do a search for them. You can search for them using different filters. First click on the “+Add Search Filter” button.
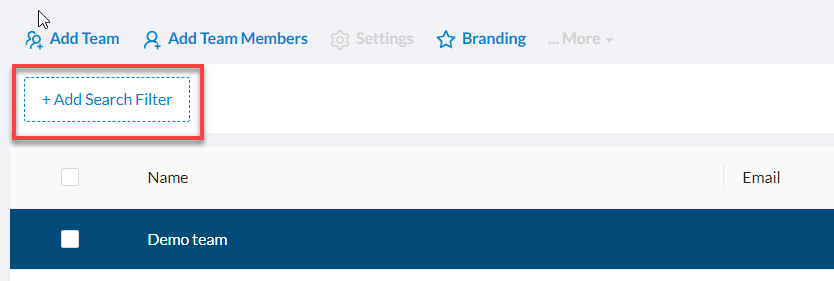
Then in the menu that appears choose the filter that you want to use. We are going to use Team Name.
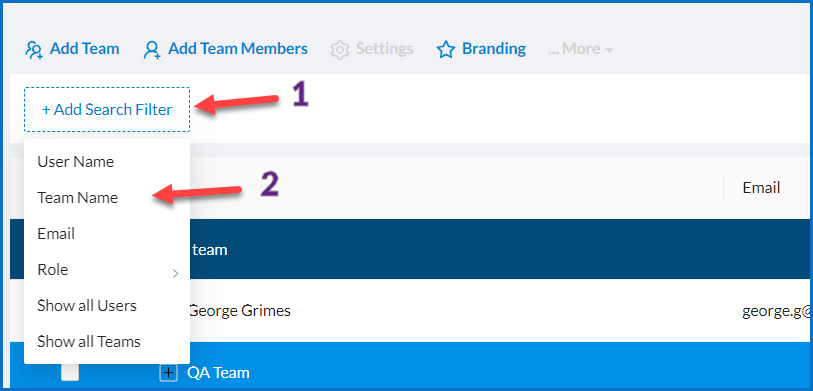
Once you click on your preferred search filter a little box will appear for you to enter the term you want to search for. In this example we will enter Testing Team One. Then click Apply.
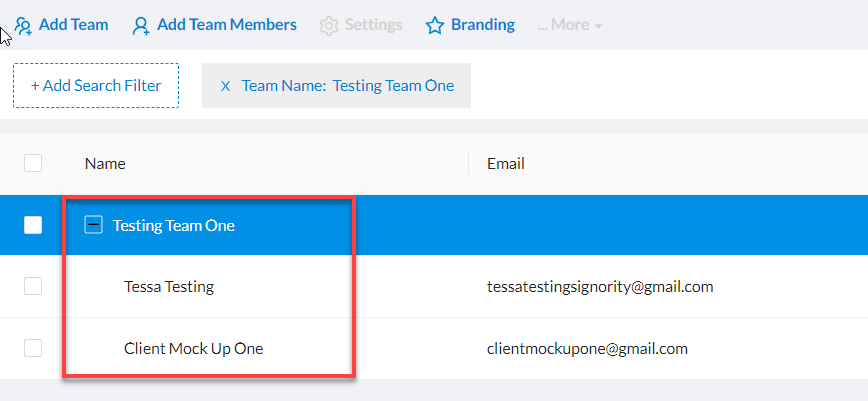
As you can see below our team appeared listing the users we wish to move.
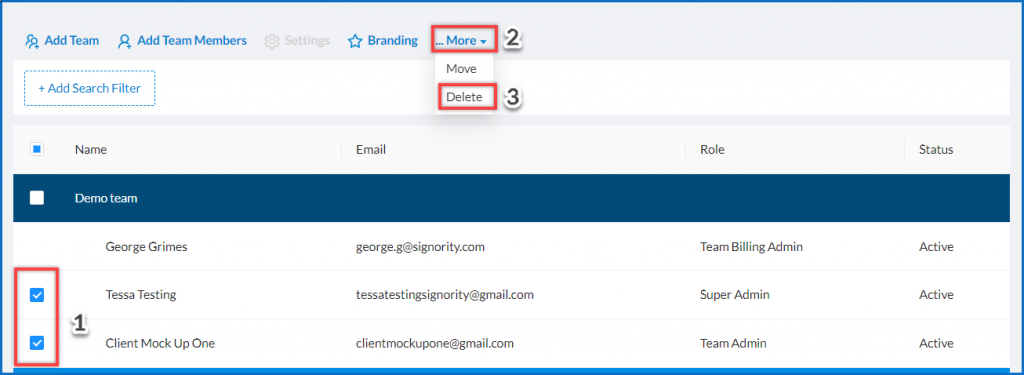
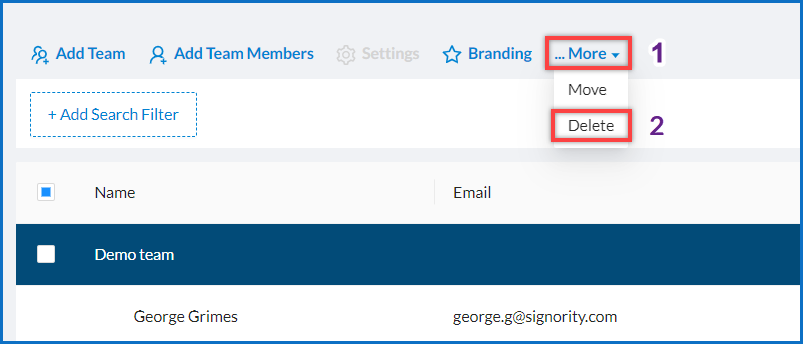
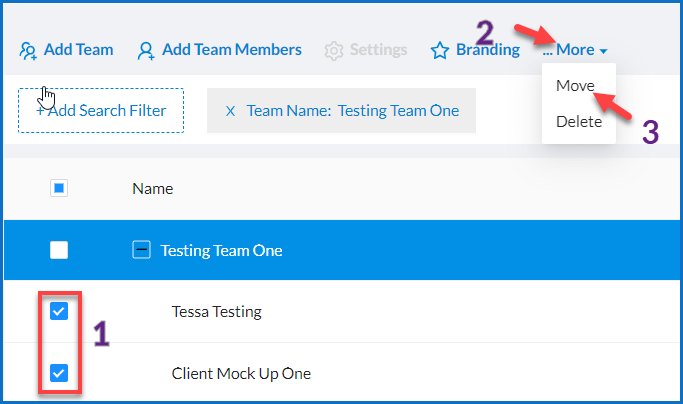
Now check the box(es) beside the user(s) that you wish to move to another team. Keep in mind that if you choose multiple users you must be moving them all to the same team. Once you have selected your users (1) choose More (2) and then click Move in the menu that appears (3).
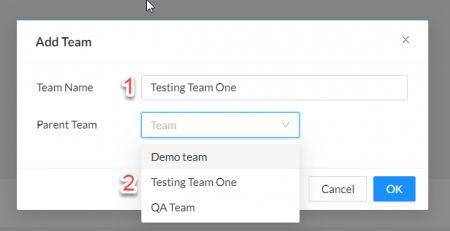
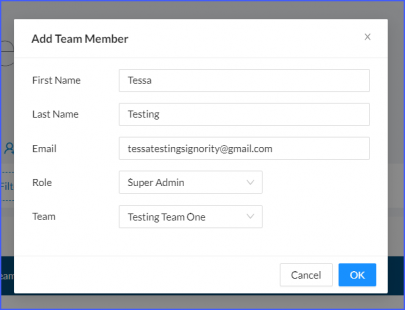
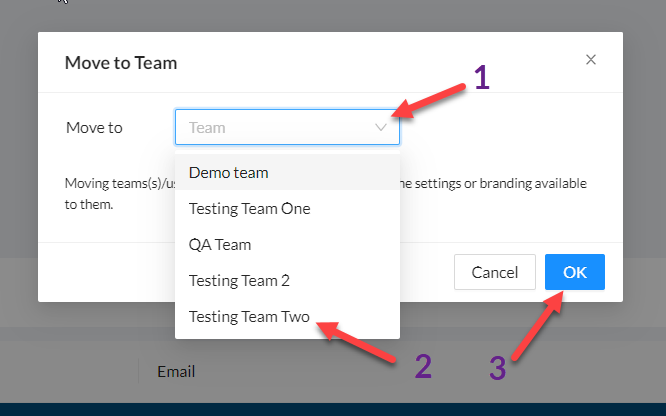
In the modal box that appears click on the drop down menu (1) and select the Team you want to move the users to (2). Then click OK (3).
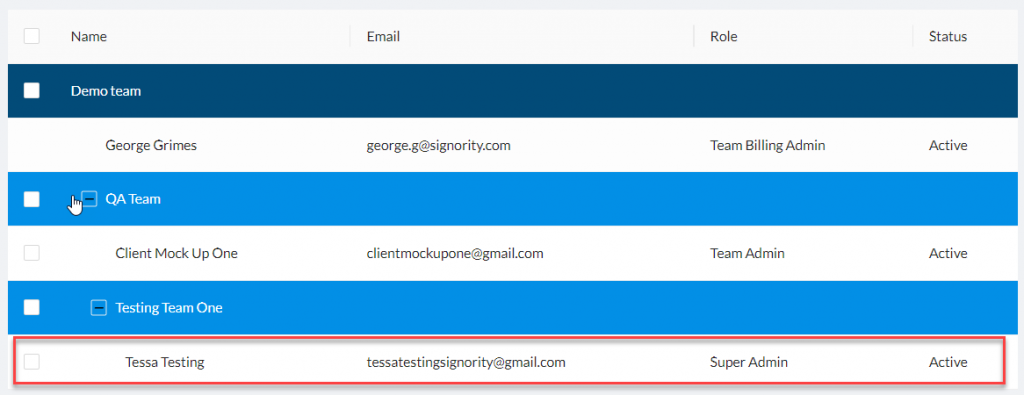
Once the window disappears you will see the Users and Teams have collapsed again. Find the team you transferred them to and celebrate your success.