An audit trail can be the deciding factor between a valid and an invalid electronic signature document.
You may be familiar with the difference between electronic signatures and digital signatures. In case you’re not, an electronic signature is information in electronic form (can be sound, symbol, process, etc.) that is associated or attached to a document. This means that as long as one can demonstrate that the signature is associated with a person and that there was intent to sign, everything is legally binding and accepted.
A digital signature is actually a form of electronic signature that uses an encryption algorithm that helps validate who the signer is. It also ensures that the document cannot be tampered with, as the signature becomes invalid if the document is changed after signing. You can read about the differences between electronic signatures vs. digital signatures here.
Now that we have covered the basics, let’s get to what an audit trail is and why it plays an integral part in the process of validating of a document.
Technopedia, the IT education site, defines an audit trail in the context of information technology, “as a chain of evidence in the form of hard or electronic business transactions or communications resulting from business processes, functions or programming executions.”
In other words, an audit trail is a detailed list of critical data points pertaining to the transaction that are recorded and reported. These data points help verify the validity of the transaction.
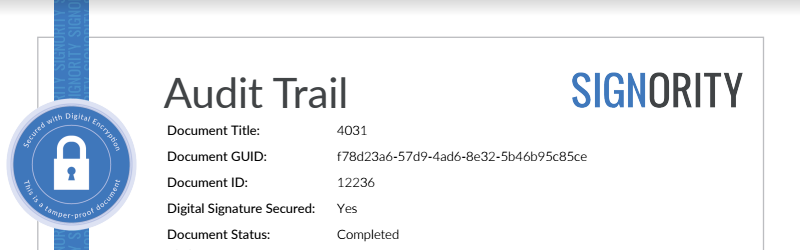
Below is a list of important components we display in Signority’s audit trail:
- Unique Document Title
- Secured seal (Digital Signatures)
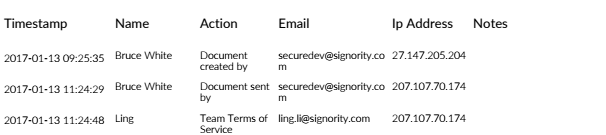
- Email Address Of Signers And Viewers
- The IP address of the involved parties
- Documents viewed by each signer
- Signers consent to terms of service
- User authentication: SMS and Email
- Signature creation (by each signer)
- Party agreement to / acknowledgement of document
- Document downloads after signing
- Signer’s Status
- GUID (or ‘Globally Unique Identifier’)
For the sake of avoiding any form of confusion, let’s go over what these components mean and what value they add to the entire electronic signature validation process.
Unique Document Title
A unique document title is the unique file name of the document that was originally created by the document creator. The unique document name can be found in the first page of Signority’s audit trail.
Secured Seal (Digital Signature)
The “Secured with Digital Encryption” image on the audit trail indicates that the document has been digitally signed by Signority to ensure document integrity. This means that if the signed document was changed, edited, or tampered with in any way, the digital signature on the document would break and be considered invalid.
Email Addresses of Signers and Viewers
The audit trail records and displays the email addresses of all parties involved, which can be either signers or viewers.
- Signer: Signers are users who are required to sign a particular document. A signer could be a primary signer or a witness.
- Viewer: A viewer is a user with view-only capabilities.
The IP Address of involved parties
According to IP Location, an IP address or Internet Protocol is “A unique address that computing devices such as personal computers, tablets, and smartphones use to identify itself and communicate with other devices in the IP network.”
In terms of Signority’s audit trail, the IP address associated with a particular signer or viewer at the time of viewing the document, is recorded and reported — adding an extra layer of validity to electronic signature documents.
Documents viewed by each Signer
The Documents viewed by the signer or viewer are displayed in the name section in the Audit trail. The audit trail also displays the exact time the document was viewed.
GUID (Globally Unique Identifier)
GUID’s of Globally Unique Identifiers are defined by BetterExplained as “Large, enormous numbers that are nearly guaranteed to be unique.”
They usually look like this: fa06cc7a-8a32-44c2-9e4d-2192818ab076
At Signority, every document created is assigned a Globally Unique Identifier and can be viewed in the audit trail.
Signers’ Consent to Terms of Service
“Signers’ consent to terms of service” refers to the signer or viewer agreeing to abide to the Signority terms of service in order to use services provided by Signority.
User Authentication
Verifying the identity of a user before granting access to secured information is the main intention of the User Authentication feature.
With Signority, two additional methods can be used to verify signers and viewers — i.e. SMS and email — when email and /or SMS password authentication is turned on by the user, Signority sends a randomly generated unique code to the recipient. The code is required to access the document.
The type of user authentication used is displayed in the “Authentication” section of the Signority’s Audit Trail.
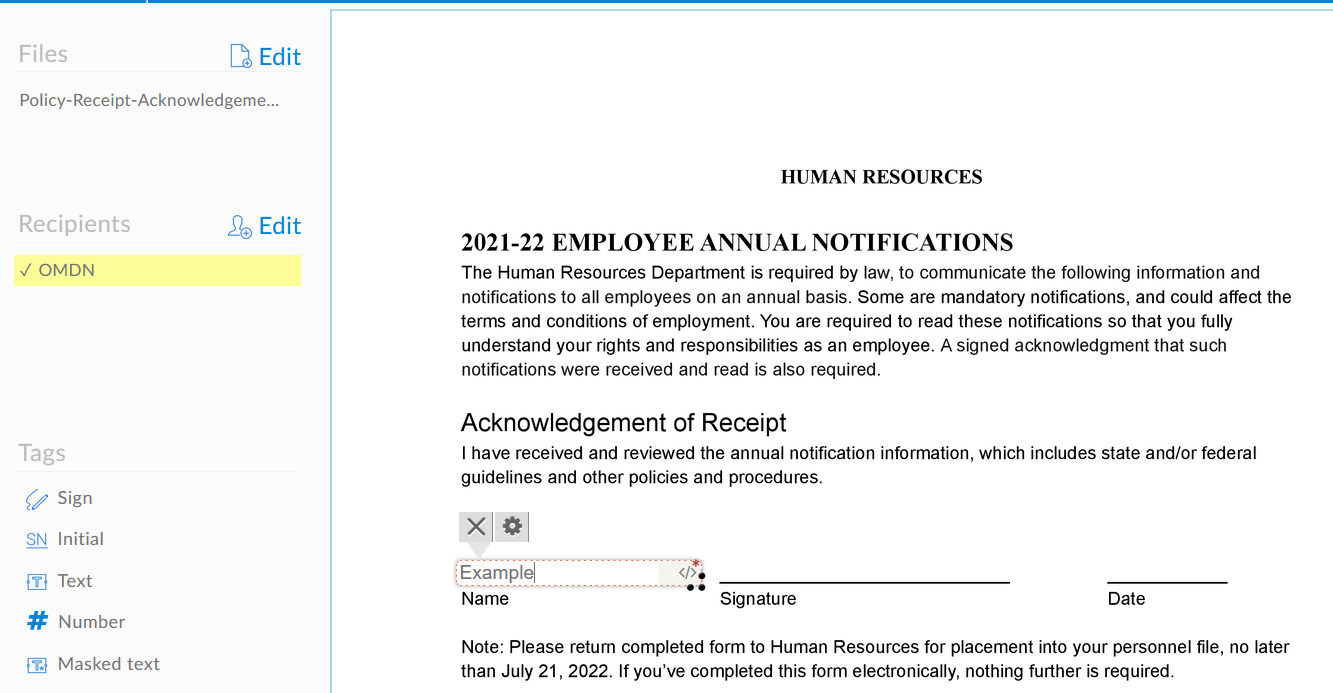
Signature Creation (by each signer)
The Signature Creation section is a critical component of the audit trail, it is the original signature of the required parties.
At Signority and most other eSignature providers, a party’s signature can be created by:
- Using a touch pad/screen or mouse
- Typing their signature using a keyboard
- Uploading a scanned copy of their signature
Document downloads after signing
Once the document is finalized by all of the signers, all parties involved are notified via email with an attached copy of the finalized document for safekeeping. In addition, the audit trail continues to track document downloads after signing and is updated live.
Signer’s Status
The signer’s status reflects the final action taken by all required signers. The status can be: “Rejected”, “Waiting to Open”, “In Progress”, “Finalized or “Viewed” — depending on the action taken by the signer.